The Get Directions Quick is an undesired web site which can be set as your startpage and search provider by a PUP (potentially unwanted program) from the browser hijacker family. Most often, the unwanted application installs on the computer in abundle with free applications that you downloaded and installed from the Web. Once it gets inside your internet browser, it’ll alter certain internet browser’s home page, new tab page and default search engine to Get Directions Quick. The Get Directions Quick is developed in order to redirect user’s internet browser and display a ton of undesired ads and sponsored links from AdSense or another third-party vendors in your search results.
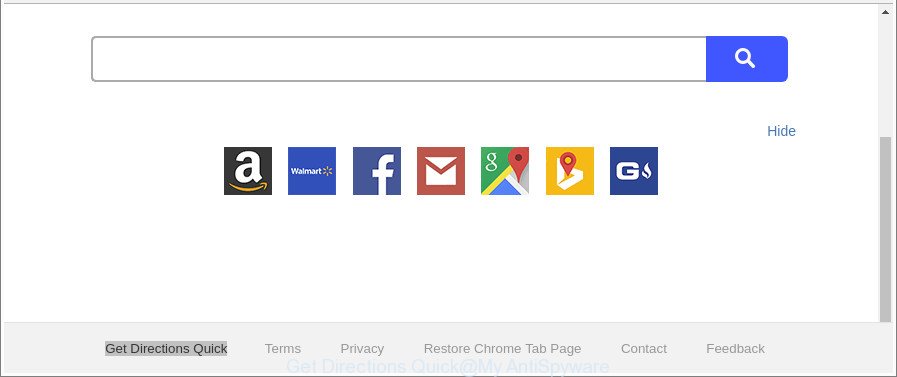
The “Get Directions Quick” makes changes to browser settings
The Get Directions Quick browser hijacker infection may also alter the default search provider that will virtually block the possibility of finding information on the World Wide Web. The reason for this is that the Get Directions Quick search results can show lots of ads, links to undesired and ad web sites. Only the remaining part is the result of your search request, loaded from the major search engines like Google, Yahoo or Bing.
It is important, do not use Get Directions Quick website and don’t click on ads placed on it, as they can lead you to a more harmful or misleading web sites. The best option is to use the step-by-step guide posted below to free your system of hijacker, get rid of the Get Directions Quick redirect, and thus restore your previous start page and search engine.
Remove Get Directions Quick from Google Chrome (Firefox, IE, Edge)
There are a simple manual steps below that will help you to delete Get Directions Quick from your Microsoft Windows system. The most effective way to delete this browser hijacker infection is to perform the manual removal tutorial and then run Zemana Anti Malware (ZAM), MalwareBytes Free or Hitman Pro automatic tools (all are free). The manual way will help to weaken this hijacker infection and these malware removal utilities will completely delete Get Directions Quick and restore the Internet Explorer, Chrome, Mozilla Firefox and MS Edge settings to default.
To remove Get Directions Quick, perform the following steps:
- How to remove Get Directions Quick manually
- How to remove Get Directions Quick redirect with free applications
- Stop Get Directions Quick and other intrusive webpages
- How was Get Directions Quick hijacker installed on PC system
- Finish words
How to remove Get Directions Quick manually
Steps to remove Get Directions Quick browser hijacker without any programs are presented below. Be sure to carry out the step-by-step guidance completely to fully remove this annoying Get Directions Quick .
Delete Get Directions Quick associated software by using Microsoft Windows Control Panel
We recommend that you start the computer cleaning procedure by checking the list of installed applications and remove all unknown or questionable apps. This is a very important step, as mentioned above, very often the harmful software such as ad supported software and browser hijackers may be bundled with freeware. Remove the unwanted software can remove the unwanted advertisements or web browser redirect.
Make sure you have closed all internet browsers and other programs. Next, delete any undesired and suspicious programs from your Control panel.
Windows 10, 8.1, 8
Now, press the Windows button, type “Control panel” in search and press Enter. Select “Programs and Features”, then “Uninstall a program”.
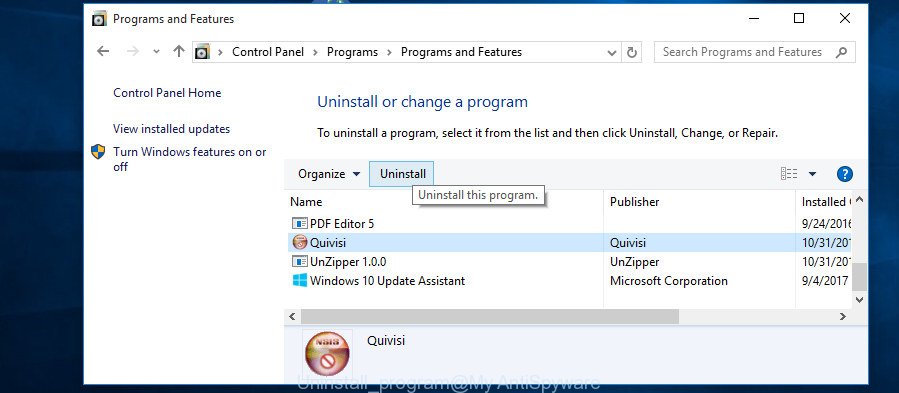
Look around the entire list of applications installed on your personal computer. Most likely, one of them is the hijacker infection related to Get Directions Quick startpage. Choose the dubious program or the application that name is not familiar to you and delete it.
Windows Vista, 7
From the “Start” menu in Microsoft Windows, choose “Control Panel”. Under the “Programs” icon, choose “Uninstall a program”.
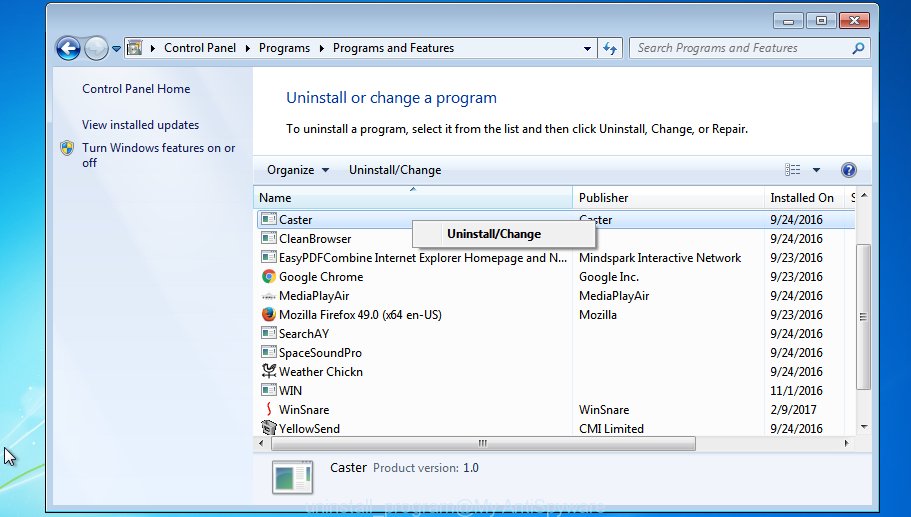
Select the questionable or any unknown applications, then click “Uninstall/Change” button to delete this unwanted program from your system.
Windows XP
Click the “Start” button, select “Control Panel” option. Click on “Add/Remove Programs”.
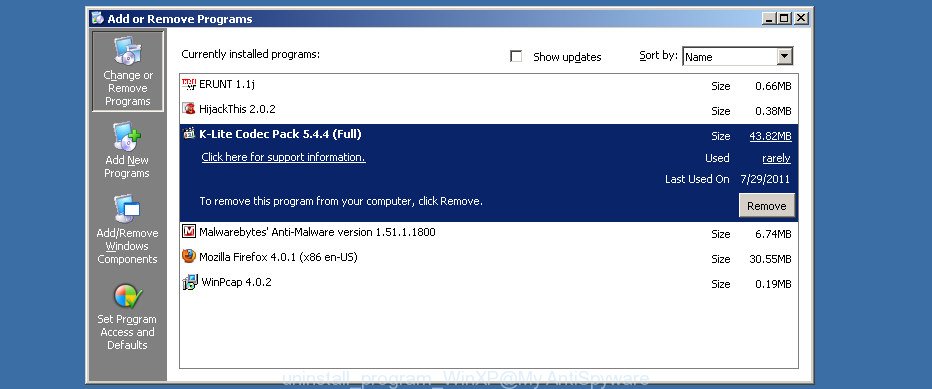
Choose an undesired program, then click “Change/Remove” button. Follow the prompts.
Remove Get Directions Quick start page from Chrome
In order to be sure that there is nothing left behind, we recommend you to reset Chrome web browser. It’ll revert back Chrome settings including search engine, start page and newtab page to defaults.

- First start the Google Chrome and click Menu button (small button in the form of three dots).
- It will display the Google Chrome main menu. Choose More Tools, then click Extensions.
- You will see the list of installed extensions. If the list has the extension labeled with “Installed by enterprise policy” or “Installed by your administrator”, then complete the following tutorial: Remove Chrome extensions installed by enterprise policy.
- Now open the Google Chrome menu once again, click the “Settings” menu.
- You will see the Chrome’s settings page. Scroll down and press “Advanced” link.
- Scroll down again and click the “Reset” button.
- The Chrome will show the reset profile settings page as shown on the image above.
- Next click the “Reset” button.
- Once this process is finished, your web browser’s newtab page, startpage and default search provider will be restored to their original defaults.
- To learn more, read the post How to reset Chrome settings to default.
Remove Get Directions Quick redirect from Internet Explorer
In order to restore all internet browser search engine by default, new tab page and startpage you need to reset the IE to the state, which was when the MS Windows was installed on your PC.
First, start the Microsoft Internet Explorer, press ![]() ) button. Next, click “Internet Options” like below.
) button. Next, click “Internet Options” like below.

In the “Internet Options” screen select the Advanced tab. Next, press Reset button. The Microsoft Internet Explorer will show the Reset Internet Explorer settings prompt. Select the “Delete personal settings” check box and press Reset button.

You will now need to reboot your computer for the changes to take effect. It will get rid of hijacker which developed to reroute your web browser to the Get Directions Quick web-site, disable malicious and ad-supported web-browser’s extensions and restore the IE’s settings such as search provider, home page and newtab to default state.
Get rid of Get Directions Quick home page from Firefox
If the Mozilla Firefox settings like homepage, search provider by default and newtab page have been changed by the browser hijacker infection, then resetting it to the default state can help. It’ll keep your personal information like browsing history, bookmarks, passwords and web form auto-fill data.
First, launch the Firefox. Next, press the button in the form of three horizontal stripes (![]() ). It will display the drop-down menu. Next, click the Help button (
). It will display the drop-down menu. Next, click the Help button (![]() ).
).

In the Help menu click the “Troubleshooting Information”. In the upper-right corner of the “Troubleshooting Information” page press on “Refresh Firefox” button as shown on the screen below.

Confirm your action, click the “Refresh Firefox”.
How to remove Get Directions Quick redirect with free applications
Manual removal tutorial does not always allow to completely get rid of the hijacker infection, as it is not easy to identify and remove components of browser hijacker infection and all malicious files from hard disk. Therefore, it’s recommended that you use malicious software removal tool to completely remove Get Directions Quick off your machine. Several free malware removal tools are currently available that can be used against the browser hijacker. The optimum method would be to use Zemana AntiMalware, MalwareBytes Anti-Malware (MBAM) and HitmanPro.
Automatically delete Get Directions Quick redirect with Zemana Anti Malware (ZAM)
Zemana Anti-Malware (ZAM) is a utility which can remove adware, PUPs, hijackers and other malicious software from your machine easily and for free. Zemana AntiMalware (ZAM) is compatible with most antivirus software. It works under Windows (10 – XP, 32 and 64 bit) and uses minimum of PC resources.
Now you can setup and use Zemana Anti Malware to remove Get Directions Quick homepage from your internet browser by following the steps below:
Click the following link to download Zemana Free setup file called Zemana.AntiMalware.Setup on your PC system. Save it to your Desktop so that you can access the file easily.
165074 downloads
Author: Zemana Ltd
Category: Security tools
Update: July 16, 2019
Run the installation package after it has been downloaded successfully and then follow the prompts to install this utility on your PC.
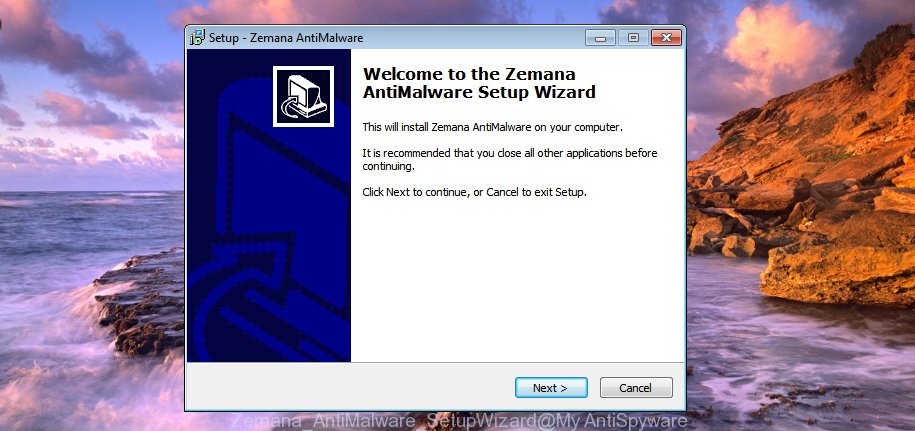
During install you can change certain settings, but we advise you don’t make any changes to default settings.
When setup is done, this malicious software removal utility will automatically start and update itself. You will see its main window as shown on the image below.
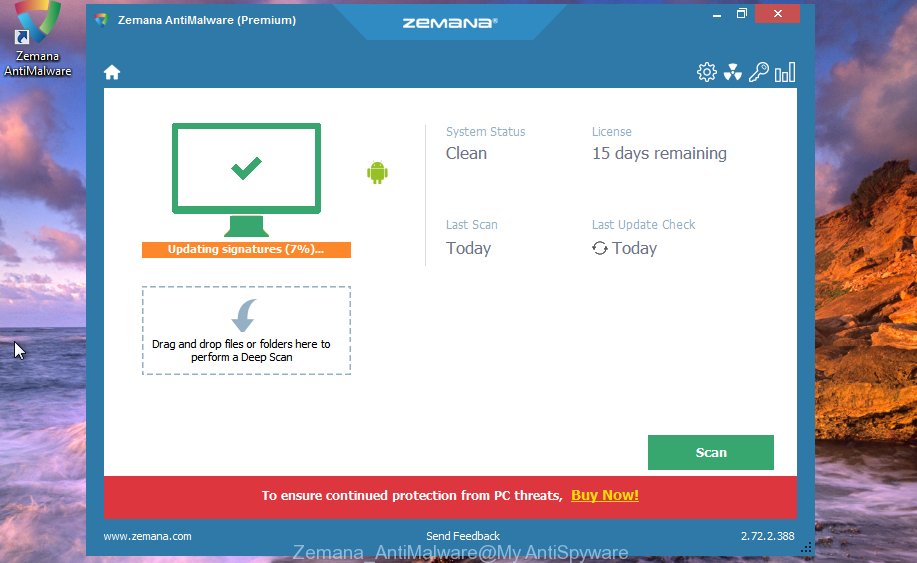
Now click the “Scan” button for scanning your computer for the hijacker responsible for changing your web browser settings to Get Directions Quick. This procedure may take some time, so please be patient. When a malicious software, ad supported software or potentially unwanted apps are found, the count of the security threats will change accordingly. Wait until the the checking is done.

When the scan get finished, Zemana Free will show a list of all threats found by the scan. You may remove items (move to Quarantine) by simply click “Next” button.
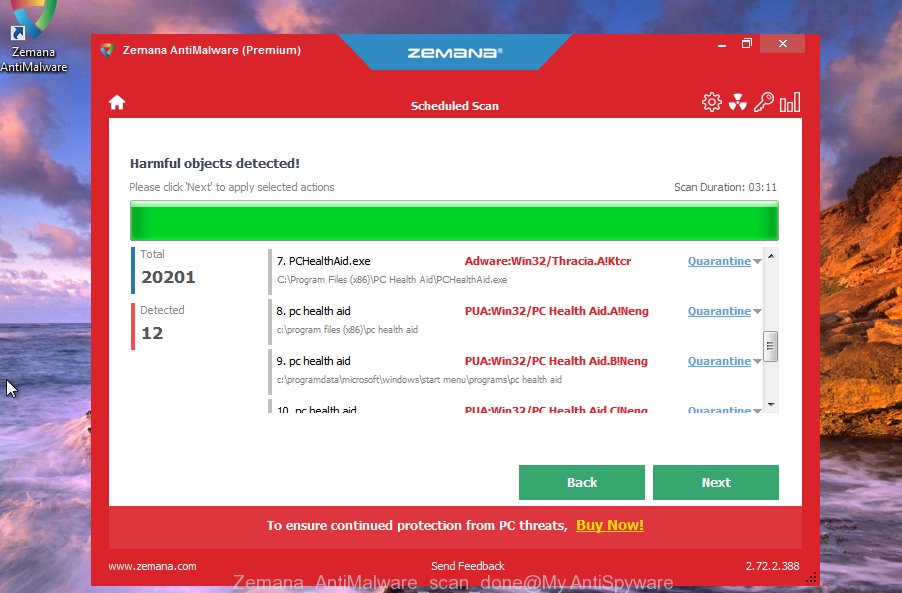
The Zemana Anti-Malware will begin to get rid of browser hijacker that causes browsers to show annoying Get Directions Quick page. When that process is complete, you can be prompted to reboot your computer to make the change take effect.
Use Hitman Pro to delete Get Directions Quick from the PC system
If Zemana Free cannot get rid of this browser hijacker, then we advises to use the Hitman Pro. The HitmanPro is a free powerful, professional removal tool for malicious software, adware, potentially unwanted programs, toolbars as well as hijacker infection related to Get Directions Quick startpage. It completely removes all traces and remnants of the infection.
Please go to the following link to download the latest version of HitmanPro for MS Windows. Save it directly to your Windows Desktop.
When the downloading process is complete, open the file location. You will see an icon like below.

Double click the HitmanPro desktop icon. After the utility is started, you will see a screen as displayed on the image below.
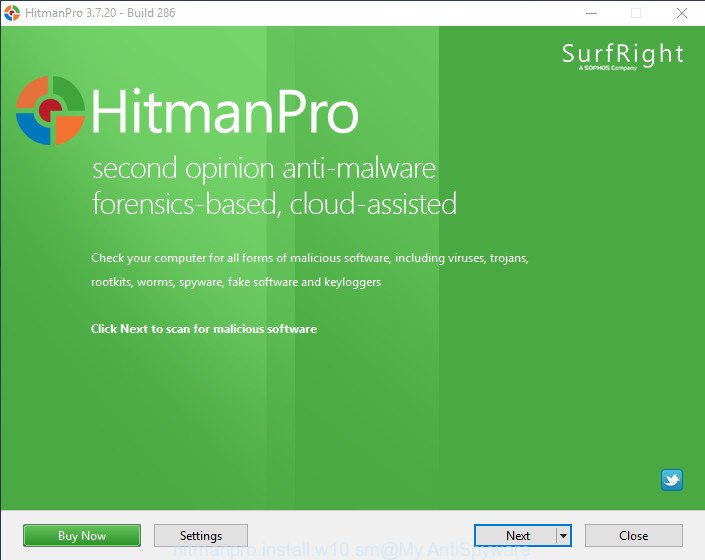
Further, click “Next” button for checking your computer for the browser hijacker which redirects your web browser to undesired Get Directions Quick web-page. A system scan can take anywhere from 5 to 30 minutes, depending on your computer. Once the checking is finished, you’ll be shown the list of all found items on your computer like below.
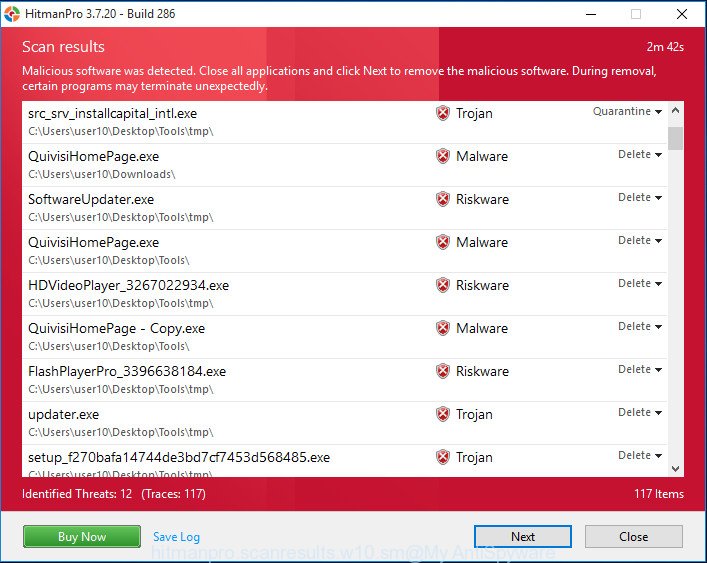
Once you have selected what you wish to remove from your personal computer click “Next” button. It will open a dialog box, click the “Activate free license” button.
How to remove Get Directions Quick with Malwarebytes
Get rid of Get Directions Quick browser hijacker manually is difficult and often the hijacker is not completely removed. Therefore, we recommend you to run the Malwarebytes Free that are completely clean your personal computer. Moreover, the free application will allow you to remove malware, potentially unwanted applications, toolbars and ad-supported software that your machine can be infected too.
- Visit the following page to download the latest version of MalwareBytes Anti-Malware (MBAM) for MS Windows. Save it to your Desktop.
Malwarebytes Anti-malware
327297 downloads
Author: Malwarebytes
Category: Security tools
Update: April 15, 2020
- Once the downloading process is complete, close all programs and windows on your machine. Open a file location. Double-click on the icon that’s named mb3-setup.
- Further, click Next button and follow the prompts.
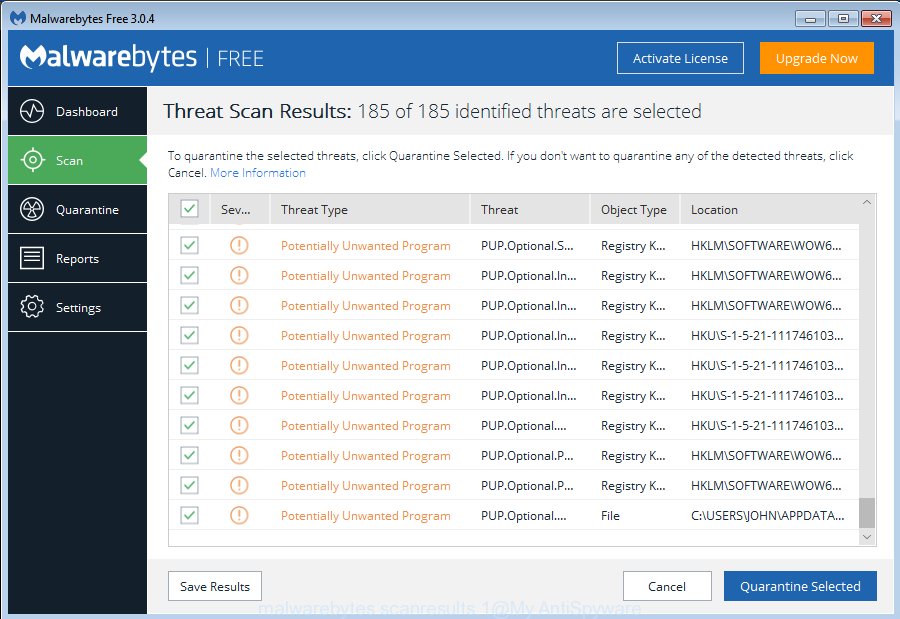
- Once setup is done, press the “Scan Now” button to start scanning your PC system for the browser hijacker that cause Get Directions Quick webpage to appear. Depending on your personal computer, the scan can take anywhere from a few minutes to close to an hour. When a malware, ad supported software or potentially unwanted software are found, the number of the security threats will change accordingly. Wait until the the checking is complete.
- When the scan is done, MalwareBytes Free will create a list of undesired applications adware. Once you’ve selected what you want to get rid of from your system click “Quarantine Selected”. After that process is done, you can be prompted to restart your system.
The following video offers a few simple steps on how to remove browser hijacker infections, ad-supported software and other malicious software with MalwareBytes Free.
Stop Get Directions Quick and other intrusive webpages
Use ad-blocker application like AdGuard in order to block advertisements, malvertisements, pop-ups and online trackers, avoid having to install malicious and adware browser plug-ins and add-ons which affect your system performance and impact your PC security. Surf the World Wide Web anonymously and stay safe online!
Please go to the link below to download the latest version of AdGuard for Microsoft Windows. Save it on your Windows desktop or in any other place.
26905 downloads
Version: 6.4
Author: © Adguard
Category: Security tools
Update: November 15, 2018
After downloading it, run the downloaded file. You will see the “Setup Wizard” screen as shown on the screen below.
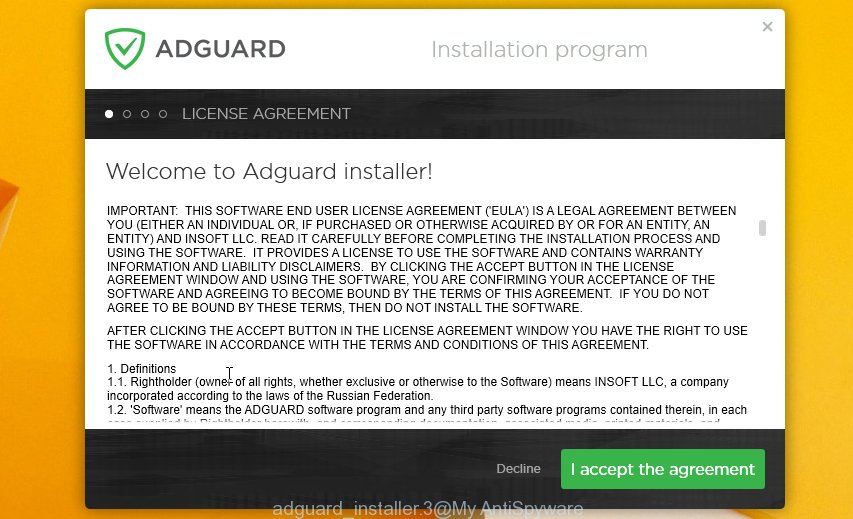
Follow the prompts. After the installation is finished, you will see a window as shown below.

You can press “Skip” to close the install program and use the default settings, or click “Get Started” button to see an quick tutorial that will help you get to know AdGuard better.
In most cases, the default settings are enough and you don’t need to change anything. Each time, when you start your PC, AdGuard will start automatically and block popups, pages like Get Directions Quick, as well as other malicious or misleading websites. For an overview of all the features of the program, or to change its settings you can simply double-click on the AdGuard icon, that is located on your desktop.
How was Get Directions Quick hijacker installed on PC system
The Get Directions Quick hijacker is bundled with various free applications, as a supplement, which is installed automatically. This is certainly not an honest way to get installed onto your machine. To avoid infecting of your machine and side effects in the form of changing your browser settings to Get Directions Quick homepage, you should always carefully read the Terms of Use and the Software license. Additionally, always select Manual, Custom or Advanced setup mode. This allows you to disable the installation of unnecessary and often harmful software. Even if you uninstall the free applications from your system, your browser’s settings will not be restored. This means that you should manually delete Get Directions Quick redirect from the Firefox, IE, Chrome and Edge by follow the steps above.
Finish words
After completing the step-by-step instructions shown above, your computer should be clean from hijacker that made to redirect your browser to the Get Directions Quick site and other malware. The Google Chrome, Firefox, IE and MS Edge will no longer open annoying Get Directions Quick webpage on startup. Unfortunately, if the step-by-step guidance does not help you, then you have caught a new hijacker, and then the best way – ask for help here.


