What is Divisionindexer
According to security professionals, Divisionindexer is a potentially unwanted application (PUA) that belongs to the Adware group . Adware is a part of software designed to throw advertisements up on your internet browser screen. Adware software generates money for its developer by constantly displaying lots of ads and pop-up deals. You might experience a change in your homepage or search engine, new tabs opening or even a redirect to shady webpages.

Unwanted ads
Another reason why you need to get rid of the Divisionindexer adware is its online data-tracking activity. Adware can have spyware and keyloggers built into the program, leading to greater damage to your machine and possible invasion of your privacy information.
How does Divisionindexer get on your MAC
Adware software may be spread through the use of trojan horses and other forms of malicious software, but most often, adware come bundled with certain free applications. Many makers of free software include bundled apps in their installer. Sometimes it is possible to avoid the installation of any adware: carefully read the Terms of Use and the Software license, choose only Manual, Custom or Advanced install method, reject all checkboxes before clicking Install or Next button while installing new free applications.
Threat Summary
| Name | Divisionindexer |
| Type | adware, potentially unwanted application (PUA), pop-ups, pop-up ads, pop up virus |
| Symptoms |
|
| Removal | Divisionindexer removal guide |
How to remove Divisionindexer from Mac
Not all unwanted apps such as Divisionindexer adware are easily uninstallable. You might see popups, deals, text links, in-text ads, banners and other type of advertisements in the Safari, Google Chrome and Firefox and might not be able to figure out the program responsible for this activity. The reason for this is that many undesired applications neither appear in the Finder. Therefore in order to fully remove Divisionindexer, you need to execute the following steps. Read this manual carefully, bookmark it or open this page on your smartphone, because you may need to shut down your web browser or reboot your machine.
To remove Divisionindexer, perform the steps below:
- Remove unwanted profiles on Mac device
- Delete Divisionindexer associated software by using the Finder
- Remove Divisionindexer related files and folders
- Scan your Mac with MalwareBytes
- Remove Divisionindexer from Safari, Chrome, Firefox
- How to stay safe online
- To sum up
Remove unwanted profiles on Mac device
Divisionindexer can make changes to the Mac system such as malicious changes to browser settings, and the addition of malicious system profiles. You need to check the system preferences, find and remove malicious profiles and ensure your settings are as you expect.
Click the System Preferences icon ( ![]() ) in the Dock, or choose Apple menu (
) in the Dock, or choose Apple menu ( ![]() ) > System Preferences.
) > System Preferences.
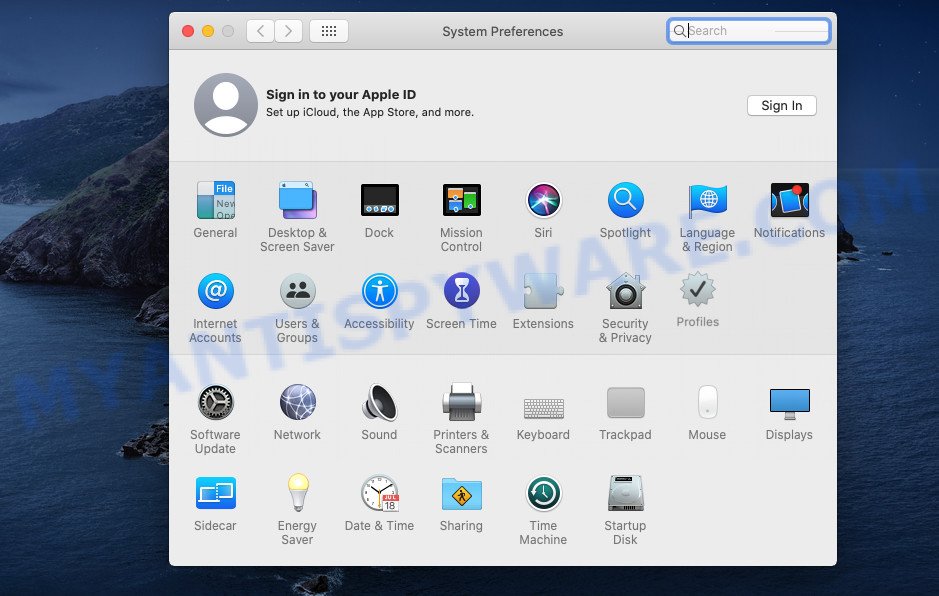
In System Preferences, click Profiles, then select a profile related to Divisionindexer.
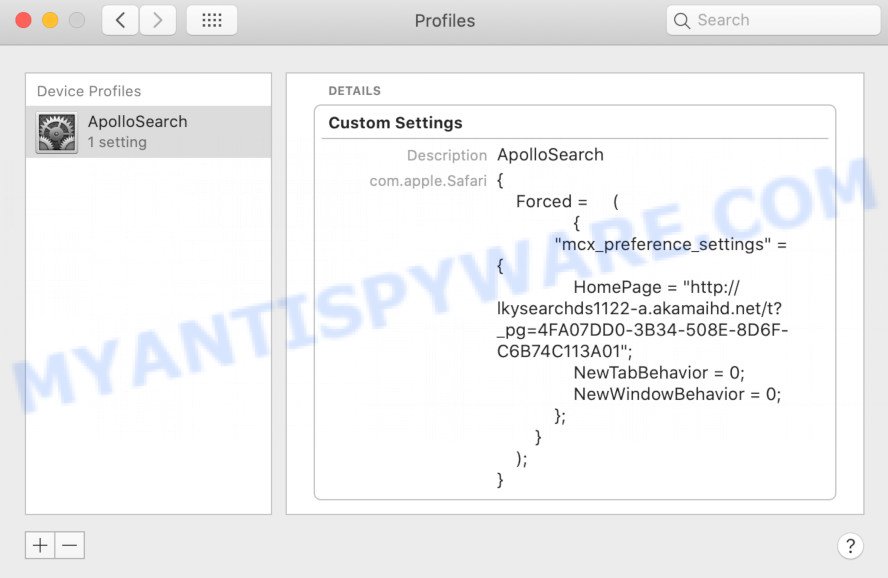
Click the minus button ( – ) located at the bottom-left of the Profiles screen to remove the profile.
Note: if you do not see Profiles in the System Preferences, that means there are no profiles installed on your Mac computer, which is normal.
Delete Divisionindexer associated software by using the Finder
The next step in removing adware, browser hijackers and PUPs by yourself is to go into the Finder, then Applications. Take a look at the list of software on your Mac and see if there are any questionable and unknown programs. If you see any, you need to uninstall it. Of course, before doing so, you can do an Net search to find details on the program. If it is a adware software, browser hijacker and PUP, you will likely find information that says so.
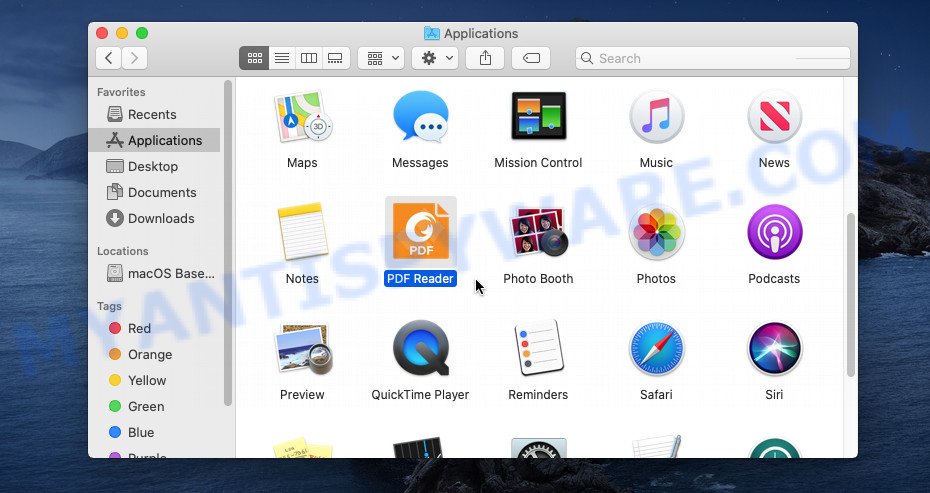
- Open the Finder.
- Click “Applications”.
- It will open a list of all programs installed on the MAC OS.
- Scroll through the all list, and delete suspicious and unknown applications. Pay maximum attention to the program you installed last.
- Drag the suspicious application from the Applications folder to the Trash.
- Empty Trash.
Remove Divisionindexer related files and folders
Now you need to try to find Divisionindexer related files and folders, and then delete them manually. You need to look for these files in certain directories. To quickly open them, we recommend using the “Go to Folder…” command.
Click on the Finder icon. From the menu bar, select Go and click “Go to Folder…”. As a result, a small window opens that allows you to quickly open a specific directory.

Check for Divisionindexer generated files in the /Library/LaunchAgents folder

In the “Go to Folder…” window, type the following text and press Go:
/Library/LaunchAgents
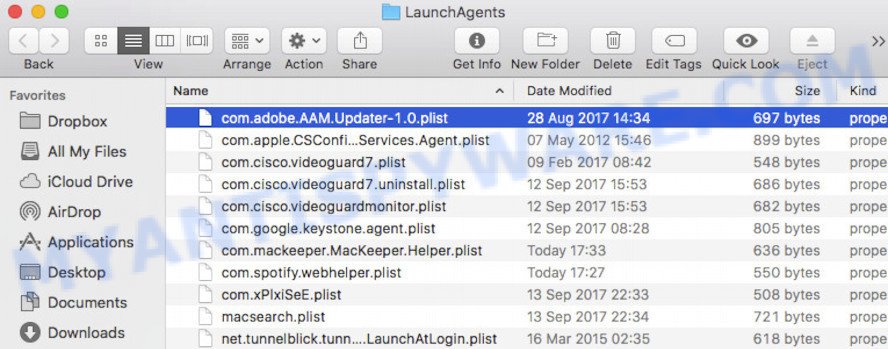
This will open the contents of the “/Library/LaunchAgents” folder. Look carefully at it and pay special attention to recently created files, as well as files that have a suspicious name. Move all suspicious files to the Trash. A few examples of files: search.plist, macsearch.plist, com.machelper.plist, installapp.plist and Divisionindexer.plist. Most often, adware, browser hijackers and potentially unwanted programs create several files with similar names.
Check for Divisionindexer generated files in the /Library/Application Support folder

In the “Go to Folder…” window, type the following text and press Go:
/Library/Application Support
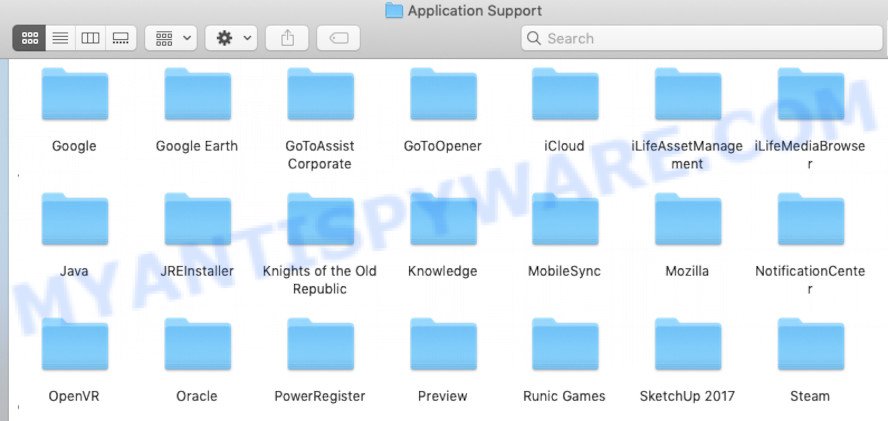
This will open the contents of the “Application Support” folder. Look carefully at its contents, pay special attention to recently added/changed folder. Move all suspicious folders to the Trash.
Check for Divisionindexer generated files in the “~/Library/LaunchAgents” folder

In the “Go to Folder…” window, type the following text and press Go:
~/Library/LaunchAgents

Proceed in the same way as with the “/Library/LaunchAgents” and “/Library/Application Support” folders. Look for suspicious and recently added files. Move all suspicious files to the Trash.
Check for Divisionindexer generated files in the /Library/LaunchDaemons folder
In the “Go to Folder…” window, type the following text and press Go:
/Library/LaunchDaemons

Carefully browse the entire list of files and pay special attention to recently created files, as well as files that have a suspicious name. Move all suspicious files to the Trash. A few examples of files to be deleted: com.installapp.plist, com.Divisionindexer.plist, com.search.plist, com.machelper.plist and com.macsearch.plist. In most cases, potentially unwanted programs, browser hijackers and adware create several files with similar names.
Scan your Mac with MalwareBytes
If you are still having issues with the Divisionindexer removal or just wish to scan your Mac computer occasionally for adware software and other malicious software, then download MalwareBytes AntiMalware (MBAM). It is free for home use, and finds and deletes various unwanted applications that attacks your MAC or degrades Apple Mac performance. MalwareBytes Anti Malware can remove toolbars, browser hijackers, PUPs and adware as well as malware, including ransomware and trojans.
Visit the page linked below to download the latest version of MalwareBytes for Mac OS.
21020 downloads
Author: Malwarebytes
Category: Security tools
Update: September 10, 2020
Once downloading is done, close all windows on your machine. Further, launch the saved file. Follow the prompts.
The MalwareBytes Anti Malware (MBAM) will automatically run and you can see its main window as shown below.
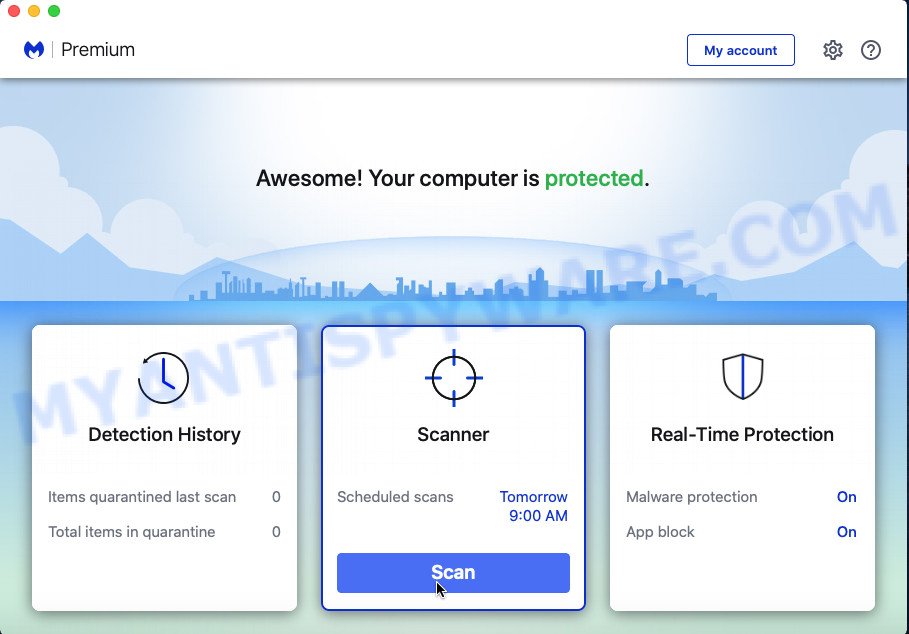
Next, press the “Scan Now” button . MalwareBytes utility will begin scanning the whole MAC system to find out the Divisionindexer adware. Depending on your MAC OS, the scan can take anywhere from a few minutes to close to an hour. During the scan MalwareBytes will locate threats exist on your computer.
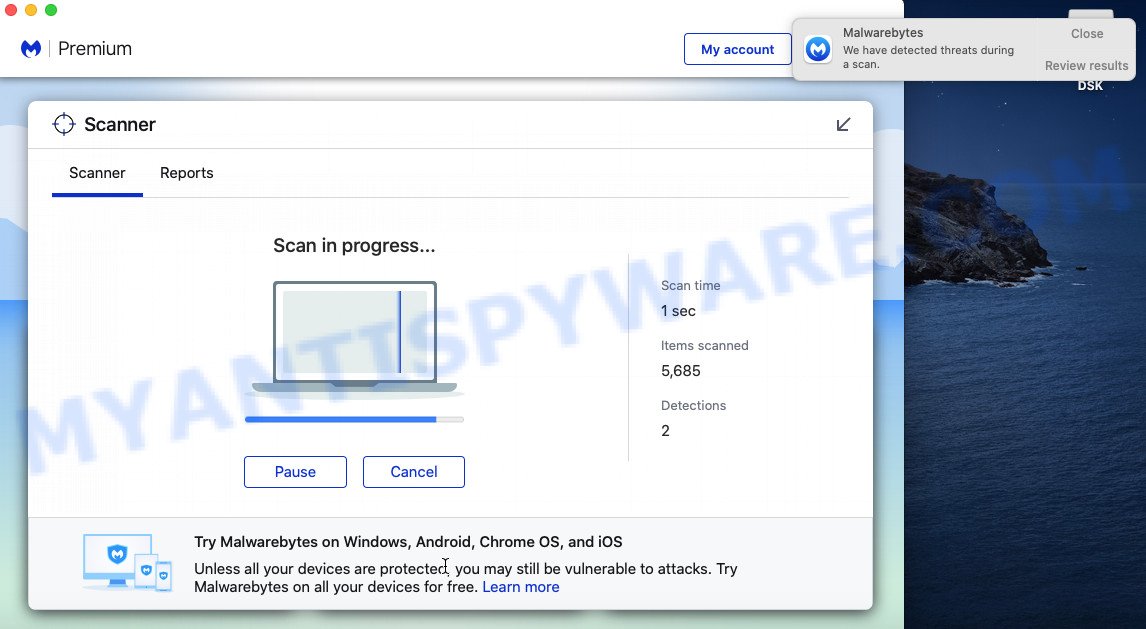
When that process is finished, MalwareBytes Free will show a screen which contains a list of malicious software that has been detected. In order to delete all items, simply click the “Quarantine” button.
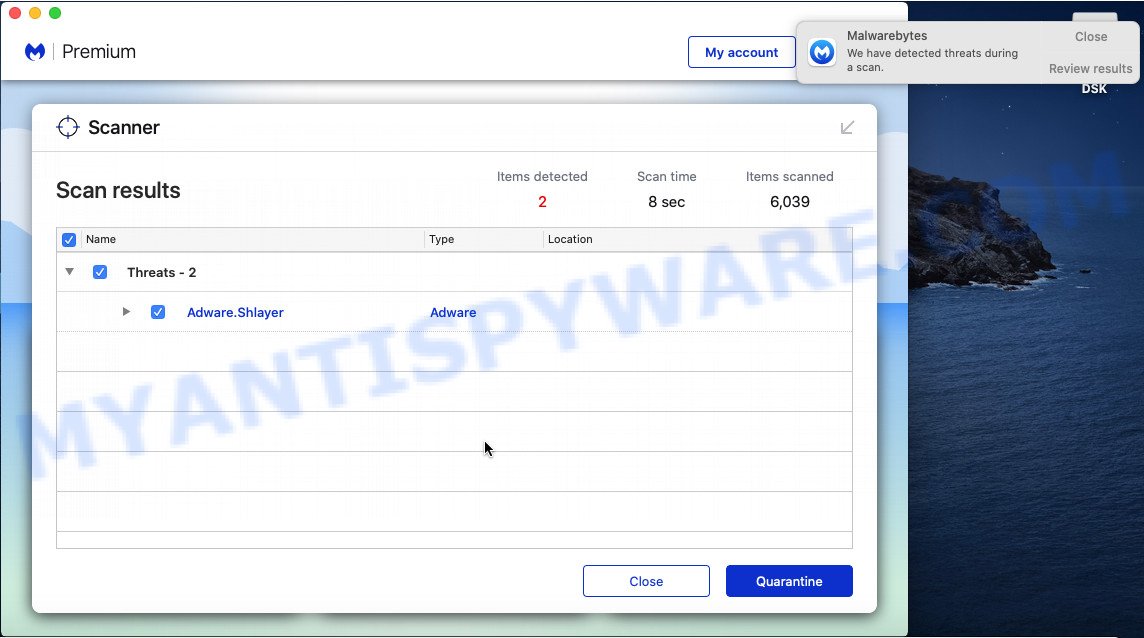
The MalwareBytes Free will delete Divisionindexer and move the selected threats to the Quarantine.
Remove Divisionindexer from Safari, Chrome, Firefox
If you’re still getting Divisionindexer adware, then you can try to delete it by removing malicious addons.
You can also try to remove Divisionindexer by reset Chrome settings. |
If you are still experiencing problems with Divisionindexer adware removal, you need to reset Firefox browser. |
|
How to stay safe online
The AdGuard is a very good ad blocking program for the Chrome, Firefox and Safari, with active user support. It does a great job by removing certain types of unwanted advertisements, popunders, pop-ups, annoying newtab pages, and even full page advertisements and web site overlay layers. Of course, the AdGuard can stop harmful web-sites automatically or by using a custom filter rule.
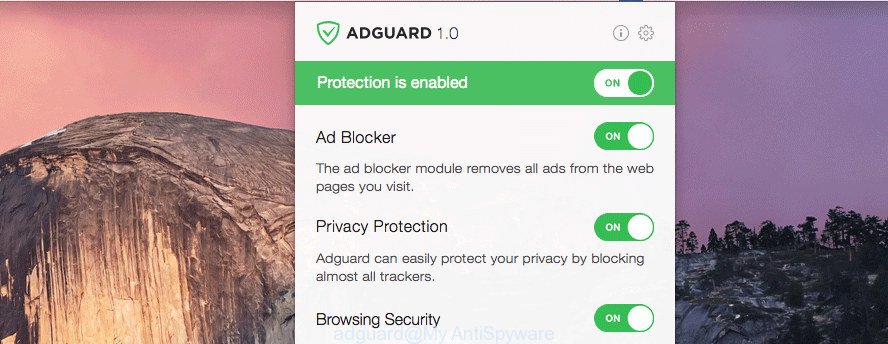
- Installing the AdGuard is simple. First you’ll need to download AdGuard from the link below.
AdGuard for Mac download
3780 downloads
Author: © Adguard
Category: Security tools
Update: January 17, 2018
- Once downloading is complete, run the downloaded file. You will see the “Setup Wizard” program window. Follow the prompts.
- When the install is done, click “Skip” to close the installation program and use the default settings, or click “Get Started” to see an quick tutorial which will allow you get to know AdGuard better.
- In most cases, the default settings are enough and you do not need to change anything. Each time, when you launch your Apple Mac, AdGuard will launch automatically and stop unwanted ads, block malicious and misleading web-sites.
To sum up
Now your MAC system should be free of the Divisionindexer adware. We suggest that you keep AdGuard (to help you block unwanted pop up ads and intrusive harmful web-pages) and MalwareBytes AntiMalware (to periodically scan your machine for new malware, browser hijackers and adware). Make sure that you have all the Critical Updates recommended for Mac operating system. Without regular updates you WILL NOT be protected when new hijackers, malicious apps and adware are released.
If you are still having problems while trying to delete Divisionindexer from your web browser, then ask for help here.

