What is ExpandedNet
ExpandedNet is a malicious application that belongs to the Adware category. ExpandedNet can cause many troubles such as unwanted advertisements and pop-ups on your web browser, irrelevant search results which redirect to scam webpages, web browser crashes and slow loading web-pages.
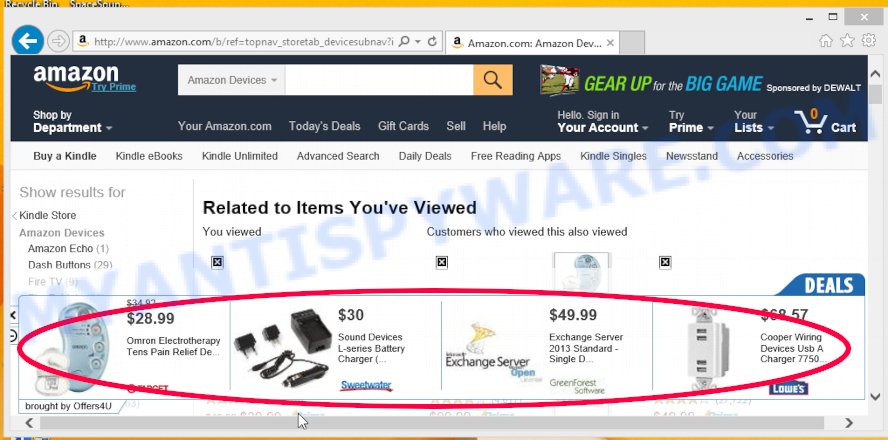
Unwanted ads
Does ExpandedNet steal your privacy information? It can gather your Internet browsing activity by saving URLs visited, IP addresses, browser version and type, cookie information, Internet Service Provider (ISP) and web-pages visited. Such kind of behavior can lead to serious security problems or personal info theft. This is another reason why the ExpandedNet adware should be uninstalled as soon as possible.
Here, in this blog post below, you can found the best possible guidance on How to uninstall ExpandedNet and get rid of unwanted ads from your MAC for free.
How does ExpandedNet get on your machine
The adware was probably installed on your computer when you installed some freeware such as Email checker, PDF creator, video codec, etc. Because more often than not, adware can be bundled with the installation files of Softonic, Cnet, Soft32, Brothersoft or other similar software download web sites. Thus, you must be very careful when running any files downloaded from the Web! Always read the User Agreement, Software License and Terms of Use carefully. In the installation wizard, you should select the Advanced, Custom or Manual installation option to specify which components and optional applications to install, otherwise you risk infecting your Apple Mac with adware or a PUP (potentially unwanted program).
Threat Summary
| Name | ExpandedNet |
| Type | adware, potentially unwanted application (PUA), Mac virus, Mac malware |
| Detection Names | ApplicUnwnt, OSX.Trojan.Gen, Adware.MAC.Generic, MacOS.Agent-MT, Osx.Adware.Cimpli, Program:MacOS/Vigram.A, Adware/Adload!OSX and Trojan-Downloader.OSX.Adload |
| Distribution | Freeware installers, shady popup ads, fake update tools and torrent downloads |
| Symptoms | Every time you perform an Internet search, your internet browser is redirected to another web site, web-browser popups appear and recommend fake Jave updates, new entries appear in your Applications folder, unexpected web browser add-ons or toolbars keep coming back, your internet browser search engine has replaced without your permission, slow browsing Internet. |
| Removal | ExpandedNet removal guide |
How to Remove ExpandedNet adware (removal tutorial)
To get rid of ExpandedNet adware from your MAC, you must uninstall all suspicious applications and remove every file that could be related to the adware software. Besides, to fix your browser new tab page, search engine by default and home page, you should reset the hijacked web browsers. As soon as you are done with ExpandedNet adware software removal procedure, we suggest you scan your Apple Mac with malware removal utilities listed below. It’ll complete the removal procedure on your Apple Mac.
To remove ExpandedNet, execute the steps below:
- Remove unwanted profiles on Mac device
- Check the list of installed applications
- Remove ExpandedNet related files and folders
- Scan your Mac with MalwareBytes
- Remove ExpandedNet from Safari, Chrome, Firefox
- How to stay safe online
Remove unwanted profiles on Mac device
ExpandedNet can make changes to the Mac system such as malicious changes to browser settings, and the addition of malicious system profiles. You need to check the system preferences, find and remove malicious profiles and ensure your settings are as you expect.
Click the System Preferences icon ( ![]() ) in the Dock, or choose Apple menu (
) in the Dock, or choose Apple menu ( ![]() ) > System Preferences.
) > System Preferences.
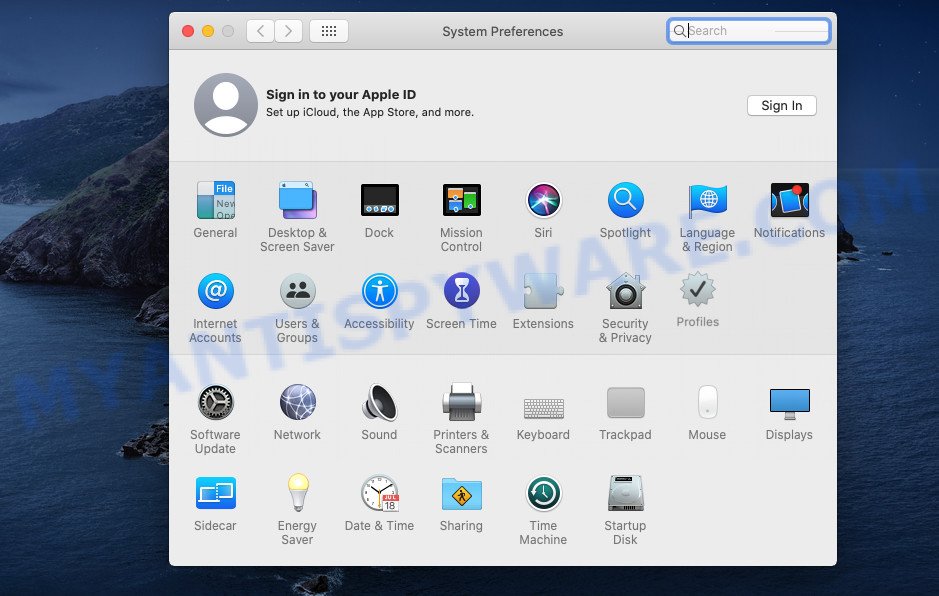
In System Preferences, click Profiles, then select a profile related to ExpandedNet.
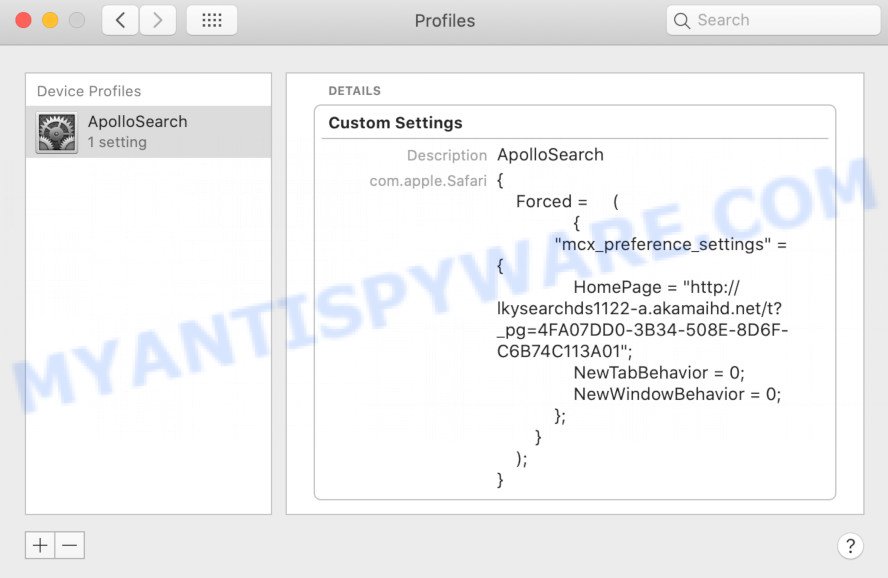
Click the minus button ( – ) located at the bottom-left of the Profiles screen to remove the profile.
Note: if you do not see Profiles in the System Preferences, that means there are no profiles installed on your Mac computer, which is normal.
Check the list of installed applications
In the next step, you need to check the list of installed software on your Mac device and uninstall all unused, unknown and suspicious applications.
Open Finder and click “Applications”.
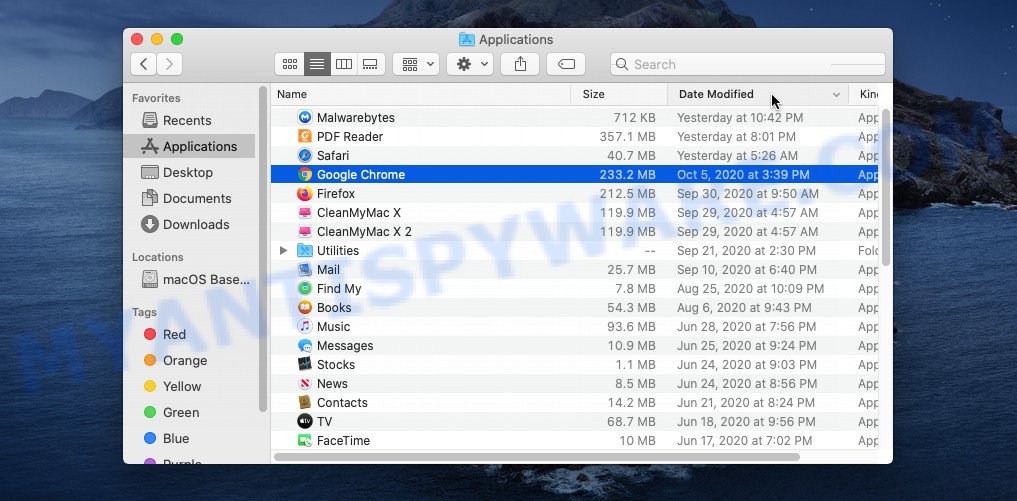
Very carefully look around the entire list of applications installed on your Apple Mac. Most likely, one of them is the ExpandedNet . Once you’ve found a suspicious, unwanted or unused program, right click to it and choose “Move to Trash”. Another method is drag the program from the Applications folder to the Trash.
Don’t forget, select Finder -> “Empty Trash”.
Remove ExpandedNet related files and folders
Now you need to try to find ExpandedNet related files and folders, and then delete them manually. You need to look for these files in certain directories. To quickly open them, we recommend using the “Go to Folder…” command.
ExpandedNet creates several files, these files must be found and removed. Below is a list of files associated with this unwanted application.
- /Library/LaunchDaemons/com.ExpandedNet.system.plist
- ~/Library/LaunchAgents/com.ExpandedNet.service.plist
- /Library/Application Support/.(RANDOM)/System/com.ExpandedNet.system
- ~/Library/Application Support/.(RANDOM)/Services/com.ExpandedNet.service.app
Some files created by ExpandedNet are hidden from the user. To find and delete them, you need to enable “show hidden files”. To do this, use the shortcut CMD + SHIFT + . Press once to show hidden files and again to hide them. There is another way. Click Finder -> Applications -> Utilities -> Terminal. In Terminal, paste the following text: defaults write com.apple.finder AppleShowAllFiles YES

Press Enter. Hold the ‘Option/alt’ key, then right click on the Finder icon in the dock and click Relaunch.
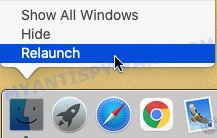
Click on the Finder icon. From the menu bar, select Go and click “Go to Folder…”. As a result, a small window opens that allows you to quickly open a specific directory.

Check for ExpandedNet generated files in the /Library/LaunchAgents folder

In the “Go to Folder…” window, type the following text and press Go:
/Library/LaunchAgents
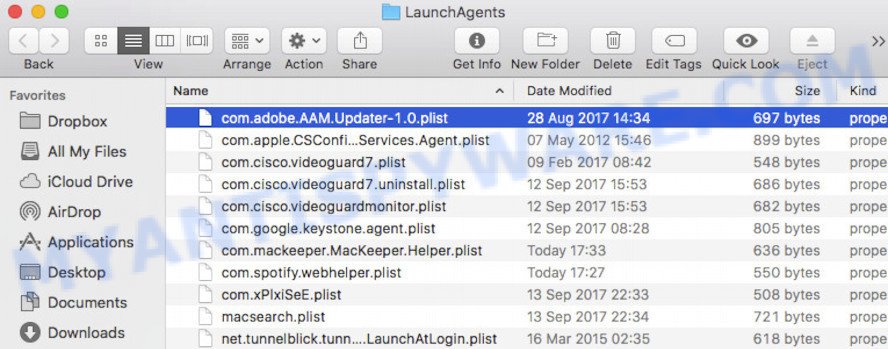
This will open the contents of the “/Library/LaunchAgents” folder. Look carefully at it and pay special attention to recently created files, as well as files that have a suspicious name. Move all suspicious files to the Trash. A few examples of files: com.net-preferences.plist, com.ExpandedNet.service.plist, installapp.plist, macsearch.plist, search.plist, com.machelper.plist and com.google.defaultsearch.plist, . Most often, PUPs, adware software and browser hijackers create several files with similar names.
Check for ExpandedNet generated files in the /Library/Application Support folder

In the “Go to Folder…” window, type the following text and press Go:
/Library/Application Support
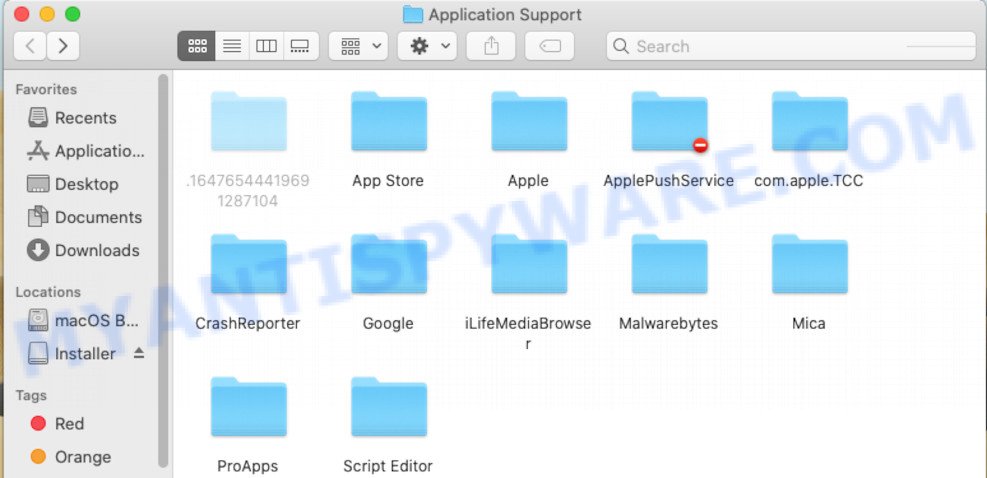
This will open the contents of the “Application Support” folder. Look carefully at its contents, pay special attention to recently added/changed folders and files. Check the contents of suspicious folders, if there is a file with a name similar to com.ExpandedNet.system, then this folder must be deleted. Move all suspicious folders and files to the Trash.
Check for ExpandedNet generated files in the “~/Library/LaunchAgents” folder

In the “Go to Folder…” window, type the following text and press Go:
~/Library/LaunchAgents

Proceed in the same way as with the “/Library/LaunchAgents” and “/Library/Application Support” folders. Look for suspicious and recently added files. Move all suspicious files to the Trash.
Check for ExpandedNet generated files in the /Library/LaunchDaemons folder
In the “Go to Folder…” window, type the following text and press Go:
/Library/LaunchDaemons

Carefully browse the entire list of files and pay special attention to recently created files, as well as files that have a suspicious name. Move all suspicious files to the Trash. A few examples of files to be deleted: com.search.system.plist, com.ExpandedNet.system.plist, com.installapp.system.plist, com.machelper.system.plist and com.macsearch.system.plist. In most cases, browser hijackers, adware and PUPs create several files with similar names.
Scan your Mac with MalwareBytes
You can remove ExpandedNet associated files automatically with a help of MalwareBytes. We advise this free malicious software removal tool because it can easily remove toolbars, browser hijackers, adware and potentially unwanted programs with all their components such as files, folders and system entries.
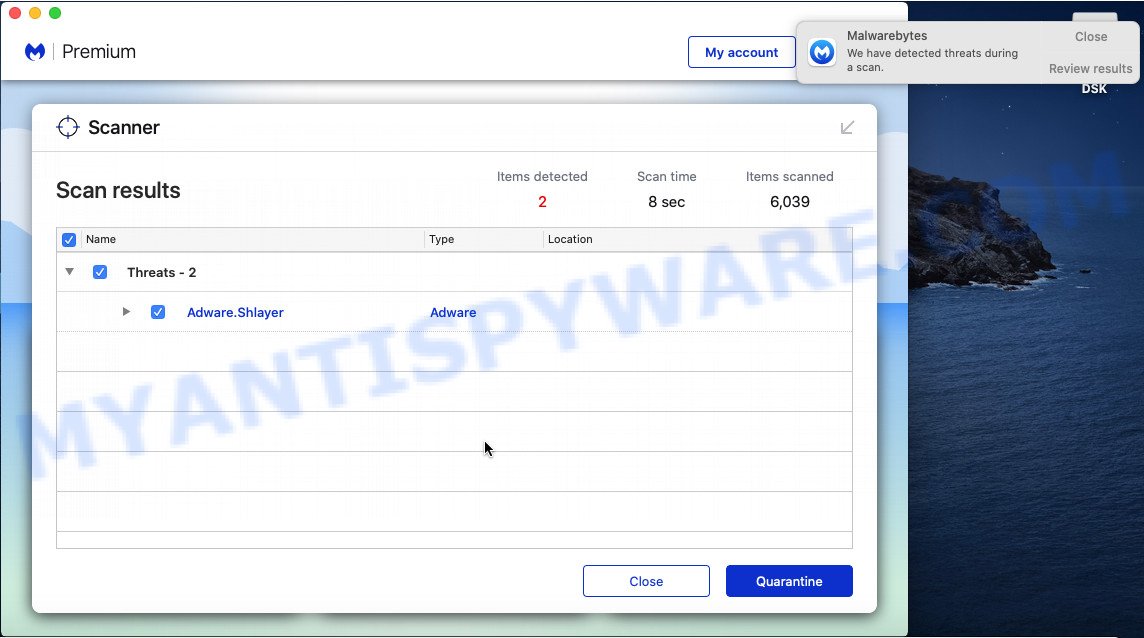
- Download MalwareBytes Free by clicking on the following link.
Malwarebytes Anti-malware (Mac)
21024 downloads
Author: Malwarebytes
Category: Security tools
Update: September 10, 2020
- After downloading is finished, close all apps and windows on your computer. Open a file location. Run the downloaded file and follow the prompts.
- Click the “Scan” button to perform a system scan for the ExpandedNet adware. A scan can take anywhere from 10 to 30 minutes, depending on the count of files on your computer and the speed of your computer. When a malicious software, adware or PUPs are found, the number of the security threats will change accordingly. Wait until the the checking is complete.
- After the scan is done, the results are displayed in the scan report. Make sure all threats have ‘checkmark’ and press “Quarantine”.
Remove ExpandedNet from Safari, Chrome, Firefox
Annoying ExpandedNet or other symptoms of adware software in your web browser is a good reason to locate and remove harmful extensions. This is an easy way to recover web-browsers settings and not lose any important information.
You can also try to remove ExpandedNet adware software by reset Chrome settings. |
If you are still experiencing problems with ExpandedNet adware software removal, you need to reset Mozilla Firefox browser. |
|
How to stay safe online
Use an ad blocking utility like AdGuard will protect you from malicious ads and content. Moreover, you can find that the AdGuard have an option to protect your privacy and stop phishing and spam webpages. Additionally, ad-blocking apps will help you to avoid unwanted popup ads and unverified links that also a good way to stay safe online.
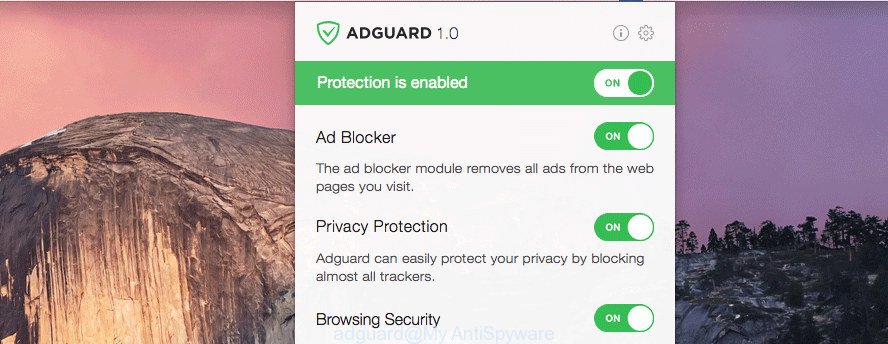
- Installing the AdGuard is simple. First you’ll need to download AdGuard from the following link. Save it directly to your MS Windows Desktop.
AdGuard for Mac download
3782 downloads
Author: © Adguard
Category: Security tools
Update: January 17, 2018
- After the download is complete, launch the downloaded file. You will see the “Setup Wizard” program window. Follow the prompts.
- When the install is complete, click “Skip” to close the setup program and use the default settings, or press “Get Started” to see an quick tutorial that will help you get to know AdGuard better.
- In most cases, the default settings are enough and you do not need to change anything. Each time, when you start your MAC system, AdGuard will start automatically and stop unwanted ads, block harmful and misleading web pages.
To sum up
We suggest that you keep AdGuard (to help you stop unwanted pop up advertisements and annoying malicious websites) and MalwareBytes Free (to periodically scan your Apple Mac for new adwares and other malicious software).
If you are still having problems while trying to delete ExpandedNet adware from the Google Chrome, Mozilla Firefox and Safari, then ask for help here here.
