What is ExpandedQuest
ExpandedQuest is supposed to be a program that will improve the browsing experience, but according to security experts, this program is adware. Adware delivers unwanted advertisements on your web browser. Some of these advertisements are scams or fake ads developed to trick you. Even the harmless advertisements can become really irritating. Adware can be installed unintentionally and without you knowing about it, when you open email attachments, install free programs.
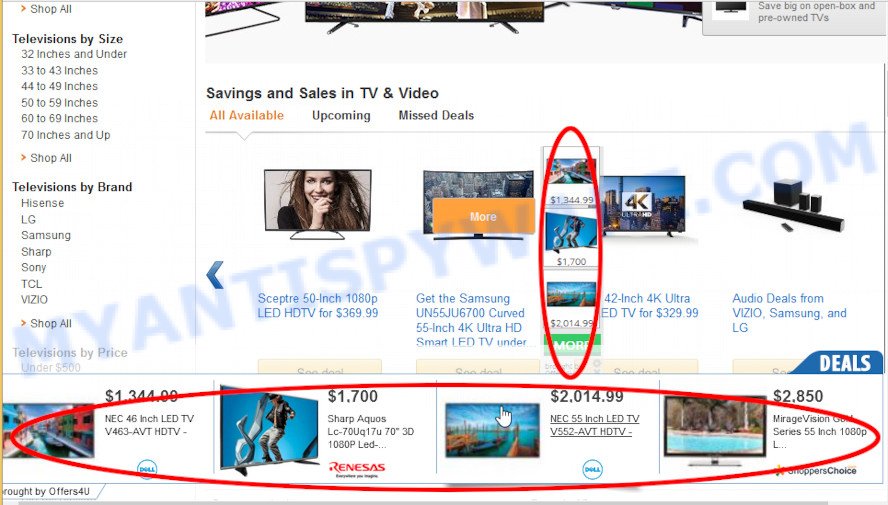
Unwanted ads
Another reason why you need to remove the ExpandedQuest adware is its online data-tracking activity. Adware can analyze the location and which Net websites you visit, and then present ads to the types of content, goods or services featured there. Adware creators can collect and sell your surfing information and behavior to third parties.
Below we are discussing the methods which are very effective in removing adware. The instructions will also assist you to get rid of ExpandedQuest from your computer for free.
How does ExpandedQuest get on your MAC system
Adware usually gets onto MAC system by being attached to free software which downloaded from the Web. Which means that you need to be proactive and carefully read the Terms of use and the License agreement properly. For the most part, adware and potentially unwanted programs will be clearly described, so take the time to carefully read all the information about the software that you downloaded and want to install on your Apple Mac.
Threat Summary
| Name | ExpandedQuest, ExpandedQuest 1.0 app |
| Type | adware, potentially unwanted program (PUP), popup virus, pop-ups, pop-up ads |
| Symptoms |
|
| Removal | ExpandedQuest removal guide |
How to Remove ExpandedQuest adware (removal tutorial)
There are a simple manual guidance below which will assist you to remove ExpandedQuest adware from your Mac computer. The most effective solution to delete this adware software is to complete the manual removal instructions and then run MalwareBytes AntiMalware (MBAM) automatic utility (it is free). The manual way will help to weaken this adware software and these malicious software removal tools will completely remove ExpandedQuest and restore the Safari, Mozilla Firefox and Chrome settings to default.
To remove ExpandedQuest, execute the following steps:
- Remove unwanted profiles on Mac device
- Remove ExpandedQuest related applications through the Finder
- Remove ExpandedQuest related files and folders
- Scan your Mac with MalwareBytes
- Remove ExpandedQuest from Safari, Chrome, Firefox
- How to stay safe online
- To sum up
Remove unwanted profiles on Mac device
ExpandedQuest can make changes to the Mac system such as malicious changes to browser settings, and the addition of malicious system profiles. You need to check the system preferences, find and remove malicious profiles and ensure your settings are as you expect.
Click Apple menu ( ![]() ) > System Preferences.
) > System Preferences.
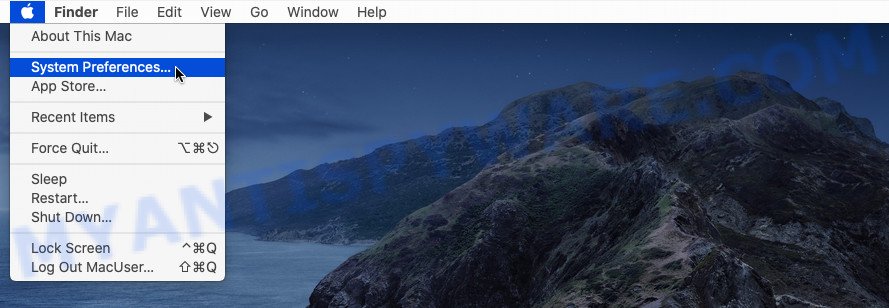
In System Preferences, select Profiles. if there is no Profiles in the list of preferences, that means there are no profiles installed on the Mac computer. If there is Profiles in the list, then click on it, then select a profile associated with ExpandedQuest.
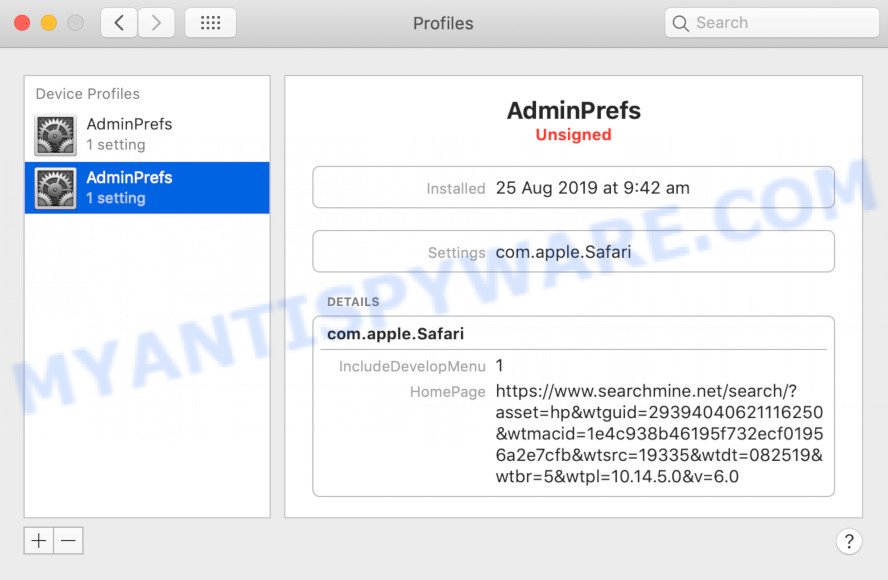
To delete a malicious profile, click on the minus button ( – ) located at the bottom-left of the Profiles screen.
Remove ExpandedQuest related applications through the Finder
Some browser hijackers, PUPs and adware can be removed by uninstalling the free programs they came with. If this way does not succeed, then looking them up in the list of installed programs in the Finder. Use the “Move to Trash” command in order to remove them.
Open Finder and click “Applications”.
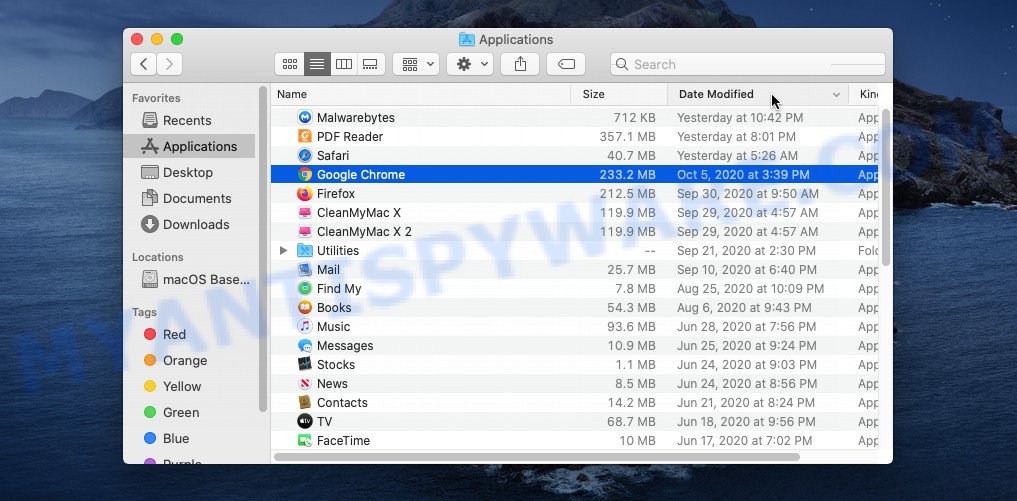
Very carefully look around the entire list of apps installed on your computer. Most probably, one of them is the ExpandedQuest adware. Once you’ve found a dubious, unwanted or unused program, right click to it and select “Move to Trash”. Another method is drag the program from the Applications folder to the Trash.
Don’t forget, choose Finder -> “Empty Trash”.
Remove ExpandedQuest related files and folders
Now you need to try to find ExpandedQuest related files and folders, and then delete them manually. You need to look for these files in certain directories. To quickly open them, we recommend using the “Go to Folder…” command.
Click on the Finder icon. From the menu bar, select Go and click “Go to Folder…”. As a result, a small window opens that allows you to quickly open a specific directory.

Check for ExpandedQuest generated files in the /Library/LaunchAgents folder

In the “Go to Folder…” window, type the following text and press Go:
/Library/LaunchAgents
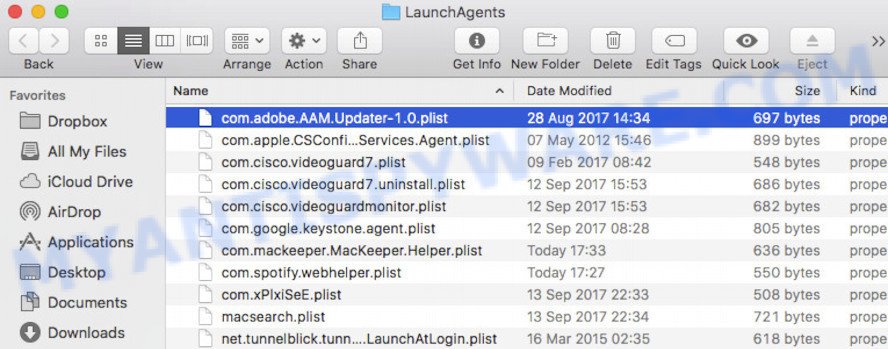
This will open the contents of the “/Library/LaunchAgents” folder. Look carefully at it and pay special attention to recently created files, as well as files that have a suspicious name. Move all suspicious files to the Trash. A few examples of files: search.plist, ExpandedQuest.plist, installapp.plist, macsearch.plist and com.machelper.plist. Most often, adware, PUPs and browser hijackers create several files with similar names.
Check for ExpandedQuest generated files in the /Library/Application Support folder

In the “Go to Folder…” window, type the following text and press Go:
/Library/Application Support
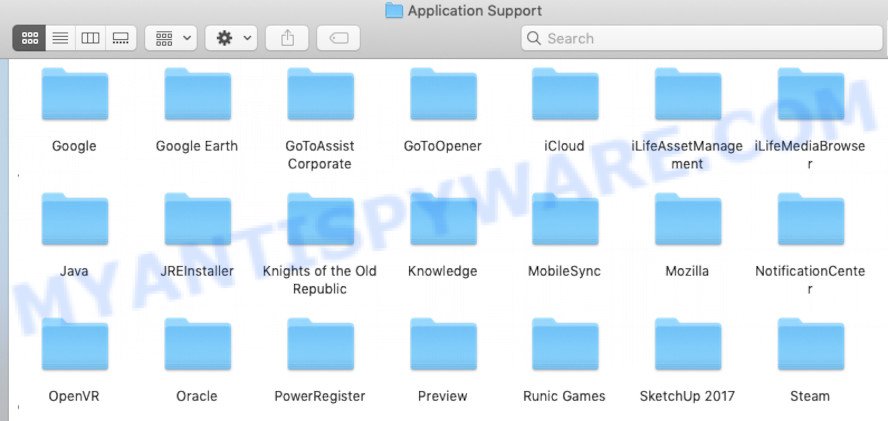
This will open the contents of the “Application Support” folder. Look carefully at its contents, pay special attention to recently added/changed folder. Move all suspicious folders to the Trash.
Check for ExpandedQuest generated files in the “~/Library/LaunchAgents” folder

In the “Go to Folder…” window, type the following text and press Go:
~/Library/LaunchAgents

Proceed in the same way as with the “/Library/LaunchAgents” and “/Library/Application Support” folders. Look for suspicious and recently added files. Move all suspicious files to the Trash.
Check for ExpandedQuest generated files in the /Library/LaunchDaemons folder
In the “Go to Folder…” window, type the following text and press Go:
/Library/LaunchDaemons

Carefully browse the entire list of files and pay special attention to recently created files, as well as files that have a suspicious name. Move all suspicious files to the Trash. A few examples of files to be deleted: com.search.plist, com.ExpandedQuest.plist, com.machelper.plist, com.macsearch.plist and com.installapp.plist. In most cases, browser hijackers, potentially unwanted programs and adware create several files with similar names.
Scan your Mac with MalwareBytes
We recommend using MalwareBytes Anti-Malware to scan the Mac device for browser hijackers, potentially unwanted programs and adware. This free tool is an advanced malware removal program created by (c) Malwarebytes lab. This application uses the world’s most popular anti malware technology. It’s able to help you remove ransomware and other security threats from your Mac for free.
MalwareBytes can be downloaded from the following link.
21024 downloads
Author: Malwarebytes
Category: Security tools
Update: September 10, 2020
When the downloading process is finished, close all windows on your computer. Further, run the saved file. Follow the prompts.
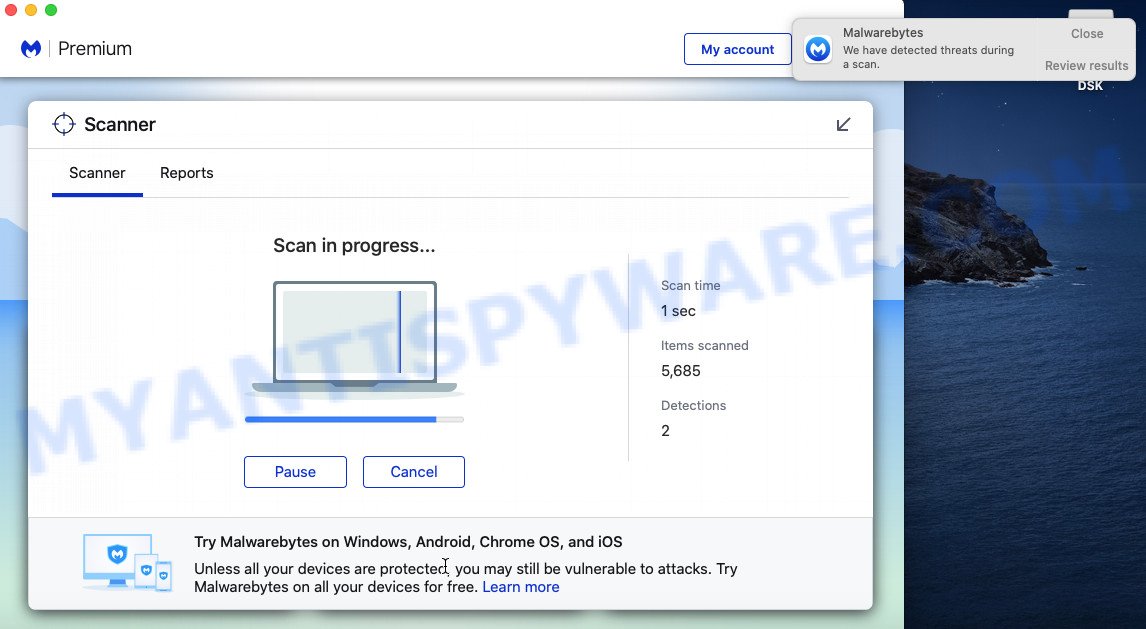
The MalwareBytes will automatically run and you can see its main window such as the one below.
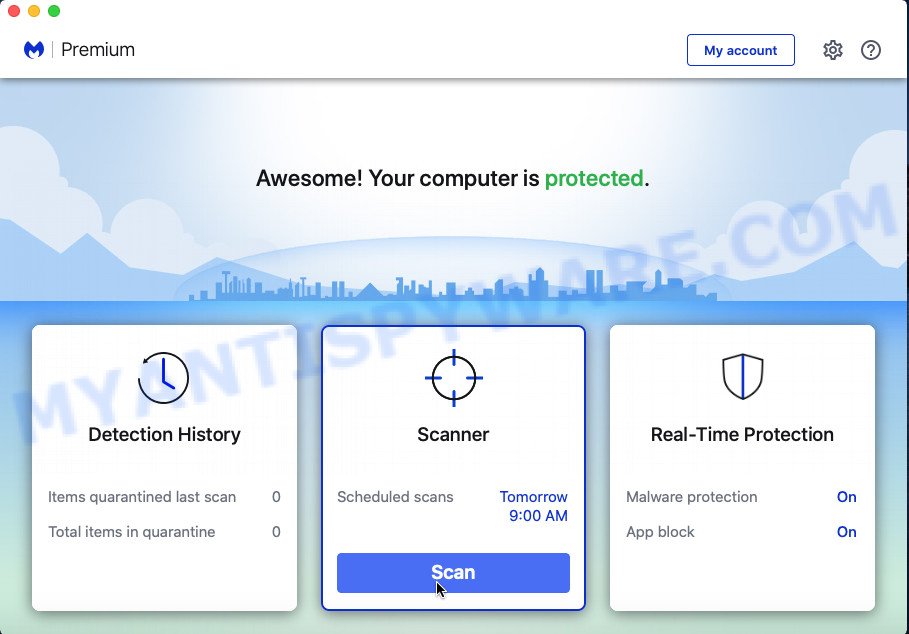
Next, click the “Scan Now” button . MalwareBytes AntiMalware (MBAM) program will scan through the whole Apple Mac for the ExpandedQuest adware. This task may take quite a while, so please be patient. While the MalwareBytes Free is checking, you can see how many objects it has identified either as being malware.
After that process is complete, you’ll be displayed the list of all detected threats on your MAC system. Make sure to check mark the threats that are unsafe and then click the “Quarantine” button.
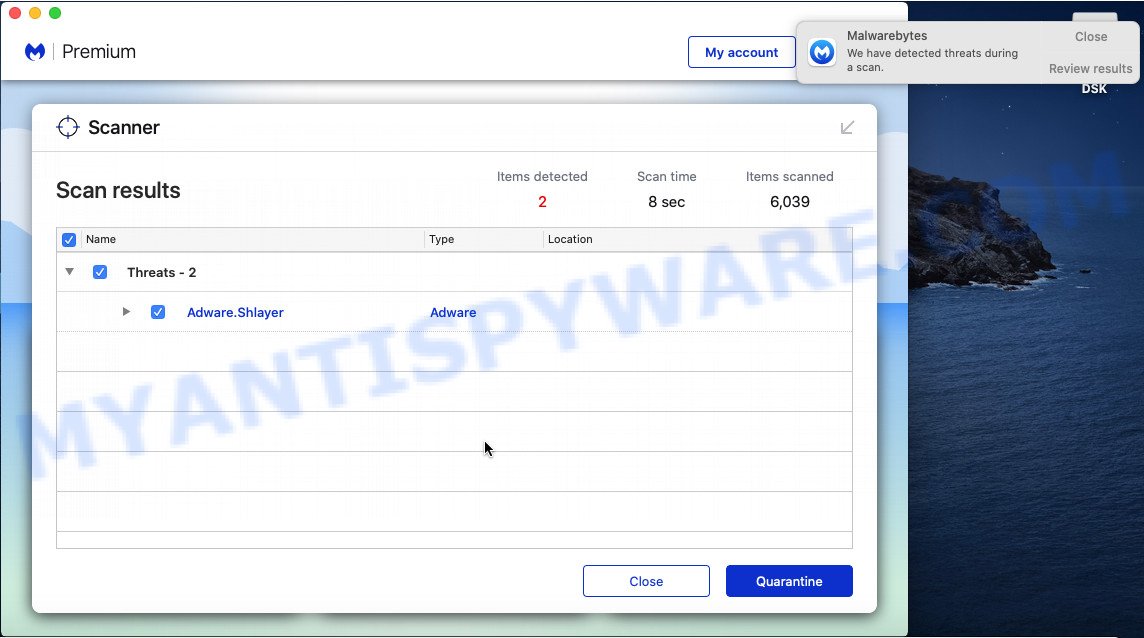
The MalwareBytes will get rid of ExpandedQuest adware and move the selected threats to the program’s quarantine.
Remove ExpandedQuest from Safari, Chrome, Firefox
If you’re still getting ExpandedQuest , then you can try to delete it by removing harmful add-ons.
You can also try to get rid of ExpandedQuest by reset Chrome settings. |
If you are still experiencing problems with ExpandedQuest removal, you need to reset Mozilla Firefox browser. |
|
How to stay safe online
It is also critical to protect your web-browsers from harmful websites and advertisements by using an adblocker program such as AdGuard. Security experts says that it’ll greatly reduce the risk of malware, and potentially save lots of money. Additionally, the AdGuard can also protect your privacy by blocking almost all trackers.
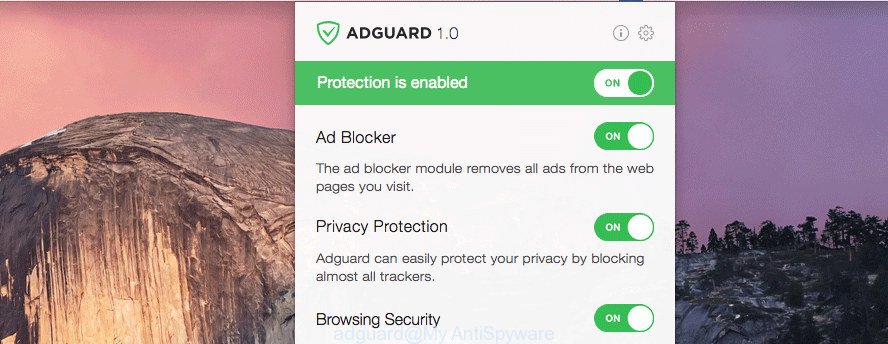
AdGuard can be downloaded from the following link.
3782 downloads
Author: © Adguard
Category: Security tools
Update: January 17, 2018
Once the download is finished, run the downloaded file. The “Setup Wizard” window will show up on the computer screen.
Follow the prompts. AdGuard will then be installed. A window will show up asking you to confirm that you want to see a quick guide. Press “Skip” button to close the window and use the default settings, or press “Get Started” to see an quick guide that will assist you get to know AdGuard better.
Each time, when you launch your MAC, AdGuard will run automatically and stop annoying advertisements, block malicious and misleading websites.
To sum up
Now your Apple Mac should be clean of the ExpandedQuest adware. We suggest that you keep AdGuard (to help you block unwanted ads and unwanted harmful web-sites) and MalwareBytes Anti Malware (MBAM) (to periodically scan your MAC for new malware, hijackers and adware). Make sure that you have all the Critical Updates recommended for Mac OS. Without regular updates you WILL NOT be protected when new hijackers, malicious software and adware software are released.
If you are still having problems while trying to remove ExpandedQuest from your internet browser, then ask for help here.

