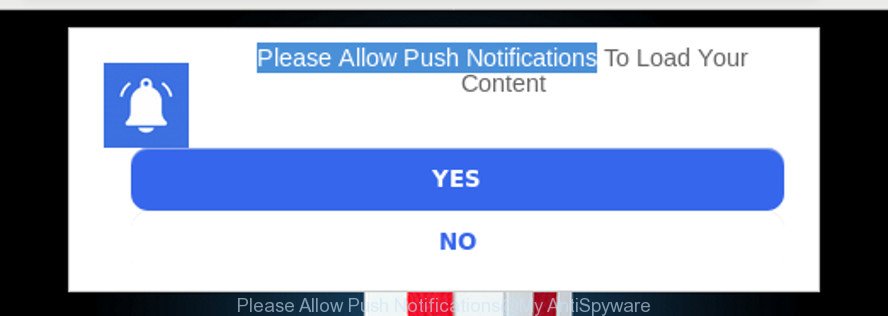
Have you become that your web-browser occasionally opens “Please Allow Push Notifications” pop-ups? This might be a sign that adware (also known as ‘ad-supported’ software) was installed on your computer. The ‘ad supported’ software is a part of harmful software that created to show tons of unwanted pop-ups, ads, deals and notifications. Complete the guide below without a wait. It will clear your personal computer from adware that generates a large number of pop-up ads in the web-browser and thereby remove annoying “Please Allow Push Notifications” pop-ups.
It is not a good idea to have an adware responsible for unwanted “Please Allow Push Notifications” pop-ups. The reason for this is simple, it doing things you don’t know about. The worst is, the adware be able to collect lots of confidential info about you which can be later used for marketing purposes. You do not know if your home address, account names and passwords are safe. And of course you completely do not know what will happen when you click “YES” or “Allow” button on these “Please Allow Push Notifications” popups.
In addition to that, as was mentioned earlier, certain adware to also modify all internet browsers shortcuts that located on your Desktop or Start menu. So, every affected shortcut file will try to redirect your web-browser to shady webpages like “Please Allow Push Notifications”, certain of which might be harmful. It can make the whole computer more vulnerable to hacker attacks.
So, if you happen to encounter intrusive “Please Allow Push Notifications” pop-ups, then be quick and take effort to get rid of ad-supported software without a wait. Follow the step-by-step instructions below to delete “Please Allow Push Notifications” pop ups. Let us know how you managed by sending us your comments please.
Remove “Please Allow Push Notifications” pop-ups (removal instructions)
The answer is right here on this web-page. We have put together simplicity and efficiency. It will allow you easily to free your machine of ad supported software related to “Please Allow Push Notifications” pop-ups. Moreover, you can select manual or automatic removal method. If you are familiar with the PC system then use manual removal, otherwise use the free anti malware utility created specifically to remove ad-supported software. Of course, you can combine both methods. Certain of the steps below will require you to close this web page. So, please read the step-by-step tutorial carefully, after that bookmark or print it for later reference.
To remove “Please Allow Push Notifications”, complete the following steps:
- Manual “Please Allow Push Notifications” popups removal
- Scan your PC system and delete “Please Allow Push Notifications” popups with free utilities
- How to stop “Please Allow Push Notifications” pop ups
- Method of adware intrusion into your machine
- Finish words
Manual “Please Allow Push Notifications” popups removal
To delete “Please Allow Push Notifications” popups, adware and other unwanted software you can try to do so manually. Unfortunately some of the adware won’t show up in your program list, but some adware may. In this case, you may be able to delete it via the uninstall function of your Windows computer. You can do this by completing the steps below.
Uninstall potentially unwanted applications using Windows Control Panel
In order to remove potentially unwanted software such as this adware, open the Windows Control Panel and click on “Uninstall a program”. Check the list of installed applications. For the ones you do not know, run an Internet search to see if they are ad supported software, browser hijacker or potentially unwanted software. If yes, remove them off. Even if they are just a programs which you do not use, then removing them off will increase your machine start up time and speed dramatically.
Windows 10, 8.1, 8
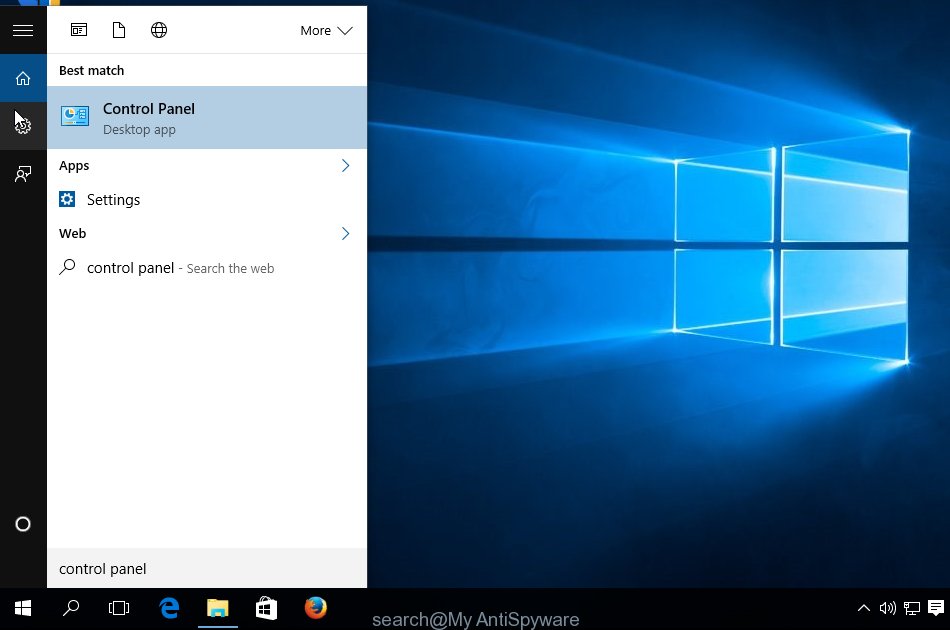
Click the MS Windows logo, and then press Search ![]()
![]() . Type ‘Control panel’and press Enter like below.
. Type ‘Control panel’and press Enter like below.
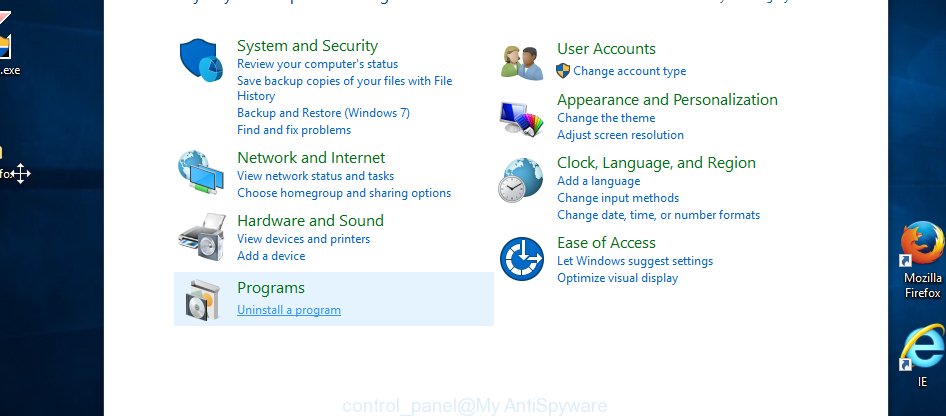
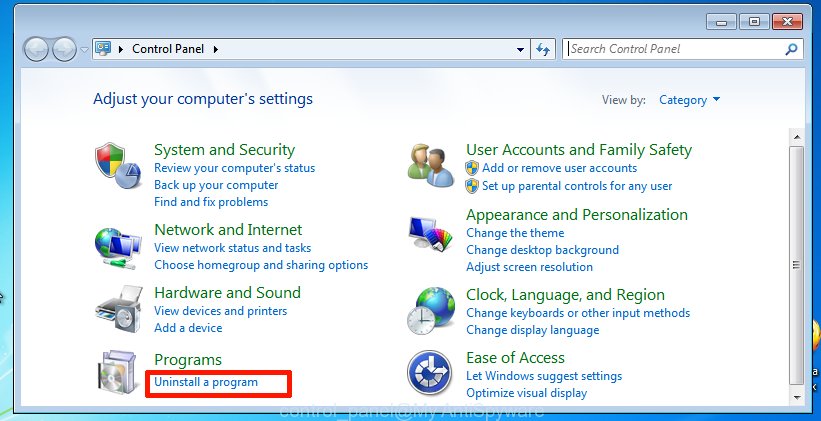
When the ‘Control Panel’ opens, click the ‘Uninstall a program’ link under Programs category as displayed in the following example.
Windows 7, Vista, XP
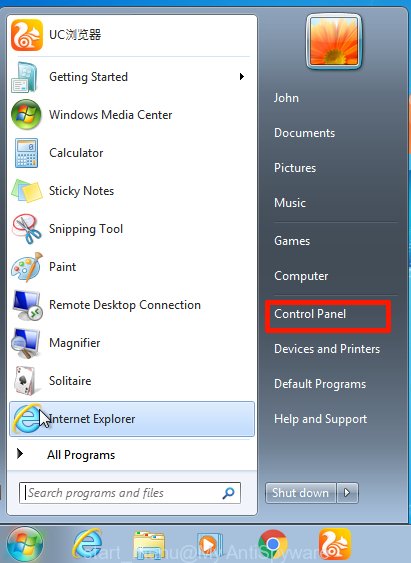
Open Start menu and choose the ‘Control Panel’ at right like below.
Then go to ‘Add/Remove Programs’ or ‘Uninstall a program’ (MS Windows 7 or Vista) as displayed in the following example.
Carefully browse through the list of installed applications and remove all questionable and unknown software. We suggest to click ‘Installed programs’ and even sorts all installed applications by date. Once you have found anything dubious that may be the adware which causes intrusive “Please Allow Push Notifications” pop-ups or other PUP (potentially unwanted program), then choose this program and press ‘Uninstall’ in the upper part of the window. If the questionable program blocked from removal, then use Revo Uninstaller Freeware to fully delete it from your system.
Remove “Please Allow Push Notifications” pop ups from Google Chrome
Like other modern web-browsers, the Google Chrome has the ability to reset the settings to their default values and thereby restore the web browser’s settings like default search engine, newtab page and start page that have been modified by the adware that made to redirect your web-browser to various suspicious web sites like “Please Allow Push Notifications”.

- First launch the Chrome and click Menu button (small button in the form of three dots).
- It will show the Chrome main menu. Select More Tools, then click Extensions.
- You will see the list of installed add-ons. If the list has the add-on labeled with “Installed by enterprise policy” or “Installed by your administrator”, then complete the following steps: Remove Chrome extensions installed by enterprise policy.
- Now open the Google Chrome menu once again, click the “Settings” menu.
- You will see the Google Chrome’s settings page. Scroll down and click “Advanced” link.
- Scroll down again and click the “Reset” button.
- The Chrome will open the reset profile settings page as shown on the screen above.
- Next click the “Reset” button.
- Once this procedure is done, your browser’s default search provider, startpage and new tab page will be restored to their original defaults.
- To learn more, read the post How to reset Google Chrome settings to default.
Get rid of “Please Allow Push Notifications” pop-ups from Internet Explorer
If you find that Internet Explorer browser settings like search engine by default, new tab and start page had been changed by adware that responsible for web browser redirect to the undesired “Please Allow Push Notifications” site, then you may return your settings, via the reset browser procedure.
First, run the Microsoft Internet Explorer, press ![]()
![]() ) button. Next, click “Internet Options” as shown in the following example.
) button. Next, click “Internet Options” as shown in the following example.

In the “Internet Options” screen select the Advanced tab. Next, press Reset button. The Internet Explorer will display the Reset Internet Explorer settings dialog box. Select the “Delete personal settings” check box and click Reset button.

You will now need to restart your system for the changes to take effect. It will remove ad supported software that causes annoying “Please Allow Push Notifications” pop-up, disable malicious and ad-supported internet browser’s extensions and restore the IE’s settings such as newtab page, start page and search provider by default to default state.
Get rid of “Please Allow Push Notifications” pop-up from Mozilla Firefox
If the Mozilla Firefox browser application is hijacked, then resetting its settings can help. The Reset feature is available on all modern version of Firefox. A reset can fix many issues by restoring Mozilla Firefox settings like start page, new tab page and search engine to their original state. When using the reset feature, your personal information like passwords, bookmarks, browsing history and web form auto-fill data will be saved.
First, launch the Firefox and click ![]()
![]() button. It will display the drop-down menu on the right-part of the browser. Further, click the Help button (
button. It will display the drop-down menu on the right-part of the browser. Further, click the Help button (![]() ) like below.
) like below.

In the Help menu, select the “Troubleshooting Information” option. Another way to open the “Troubleshooting Information” screen – type “about:support” in the web-browser adress bar and press Enter. It will show the “Troubleshooting Information” page like below. In the upper-right corner of this screen, press the “Refresh Firefox” button.

It will open the confirmation dialog box. Further, click the “Refresh Firefox” button. The Mozilla Firefox will begin a process to fix your problems that caused by the adware which created to redirect your browser to various ad sites such as “Please Allow Push Notifications”. When, it’s finished, click the “Finish” button.
Scan your PC system and delete “Please Allow Push Notifications” popups with free utilities
Manual removal guide does not always help to completely remove the adware, as it’s not easy to identify and get rid of components of ad-supported software and all malicious files from hard disk. Therefore, it’s recommended that you run malicious software removal tool to completely get rid of “Please Allow Push Notifications” off your internet browser. Several free malicious software removal utilities are currently available that can be used against the ad supported software. The optimum method would be to use Zemana Anti-Malware (ZAM), MalwareBytes Anti Malware (MBAM) and HitmanPro.
How to get rid of “Please Allow Push Notifications” popups with Zemana Anti-malware
Zemana Anti-malware is a utility that can get rid of adware, potentially unwanted programs, browser hijackers and other malicious software from your system easily and for free. Zemana Anti-malware is compatible with most antivirus software. It works under Windows (10 – XP, 32 and 64 bit) and uses minimum of PC resources.
Click the link below to download the latest version of Zemana Anti-Malware (ZAM) for Windows. Save it to your Desktop so that you can access the file easily.

165507 downloads
Author: Zemana Ltd
Category: Security tools
Update: July 16, 2019
When the downloading process is done, close all software and windows on your personal computer. Open a directory in which you saved it. Double-click on the icon that’s named Zemana.AntiMalware.Setup as displayed below.
![]()
![]()
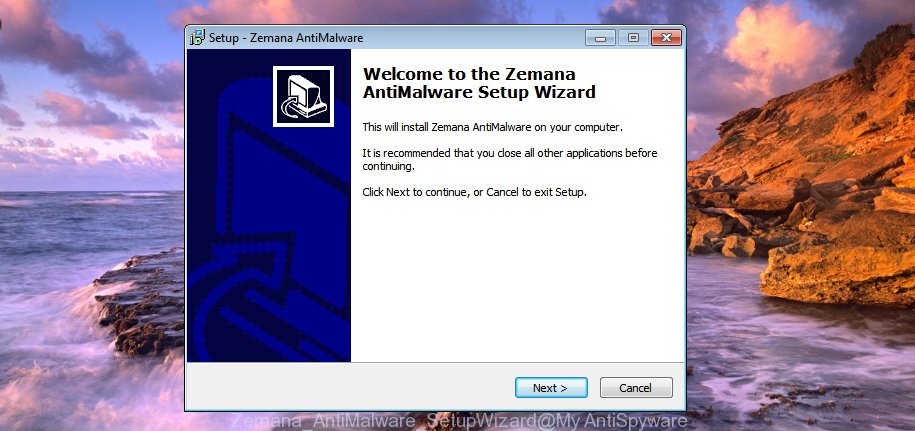
When the install starts, you will see the “Setup wizard” which will help you setup Zemana Free on your personal computer.
Once installation is done, you will see window like below.
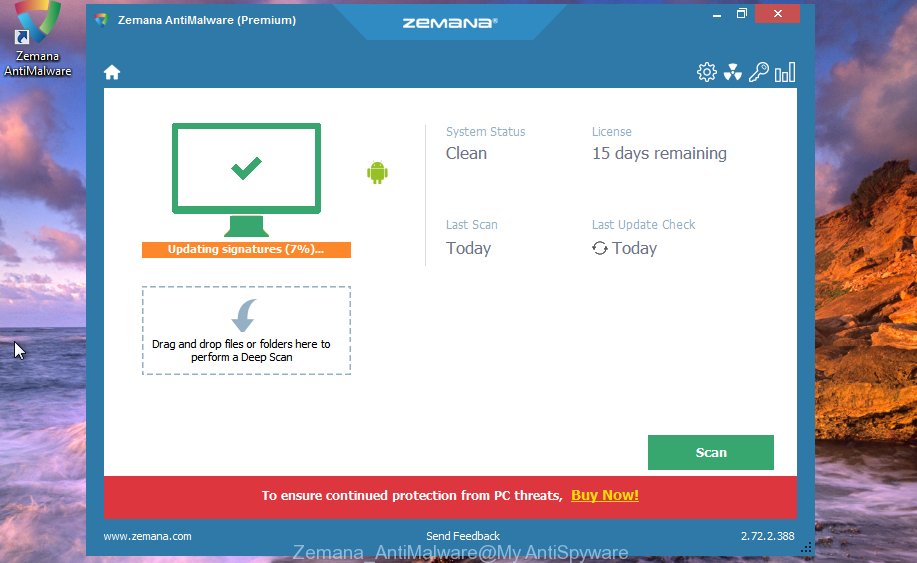
Now click the “Scan” button to perform a system scan with this utility for the ad-supported software that causes multiple intrusive pop-up. A system scan can take anywhere from 5 to 30 minutes, depending on your PC system. When a malicious software, adware or potentially unwanted apps are found, the number of the security threats will change accordingly. Wait until the the scanning is done.

When the scan get completed, you can check all threats found on your computer. All detected items will be marked. You can remove them all by simply press “Next” button.
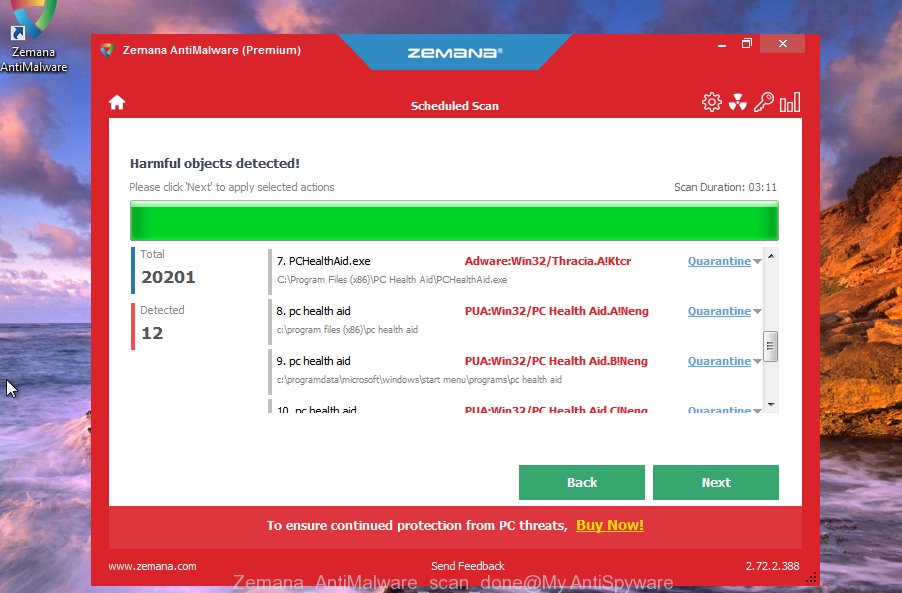
The Zemana will remove adware related to “Please Allow Push Notifications” pop ups and move items to the program’s quarantine.
Scan your personal computer and get rid of “Please Allow Push Notifications” pop up with HitmanPro
Hitman Pro is a free portable application that scans your computer for adware that responsible for browser redirect to the unwanted “Please Allow Push Notifications” webpage, potentially unwanted software and browser hijackers and allows get rid of them easily. Moreover, it’ll also help you remove any malicious internet browser extensions and add-ons.
- Download HitmanPro by clicking on the following link. Save it on your MS Windows desktop.


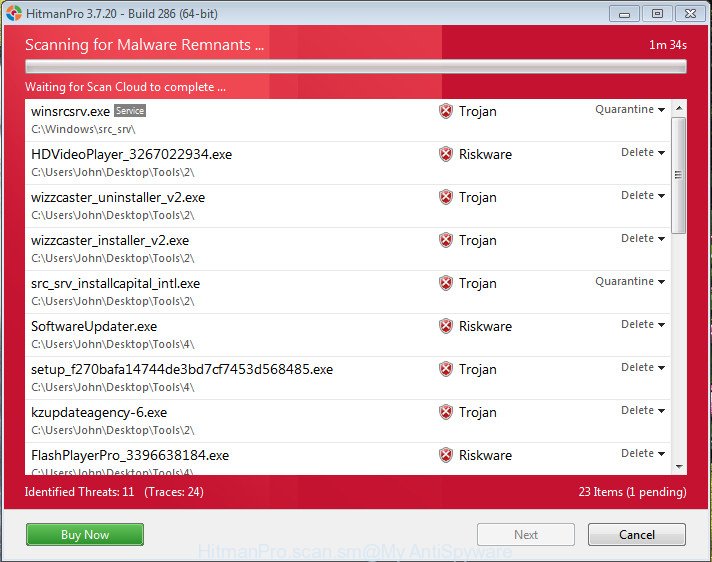
- When the download is finished, double click the HitmanPro icon. Once this tool is started, click “Next” button to detect ad-supported software that causes web browsers to open annoying “Please Allow Push Notifications” popups. A system scan can take anywhere from 5 to 30 minutes, depending on your personal computer. While the HitmanPro program is scanning, you may see count of objects it has identified as threat.
- After the system scan is complete, a list of all threats detected is created. Review the results once the tool has finished the system scan. If you think an entry should not be quarantined, then uncheck it. Otherwise, simply click “Next” button. Now press the “Activate free license” button to begin the free 30 days trial to get rid of all malicious software found.
Remove “Please Allow Push Notifications” popups with Malwarebytes
We suggest using the Malwarebytes Free. You can download and install Malwarebytes to find ad supported software and thereby get rid of “Please Allow Push Notifications” pop ups from your browsers. When installed and updated, the free malware remover will automatically scan and detect all threats exist on the PC.
Click the following link to download the latest version of MalwareBytes for MS Windows. Save it on your Desktop.
327727 downloads
Author: Malwarebytes
Category: Security tools
Update: April 15, 2020
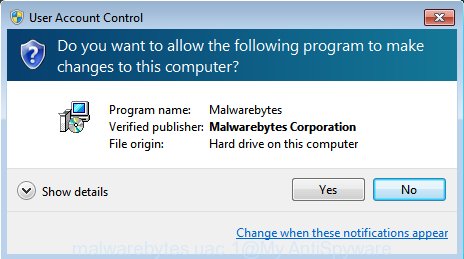
Once the downloading process is done, close all windows on your PC. Further, run the file named mb3-setup. If the “User Account Control” prompt pops up as shown in the figure below, click the “Yes” button.
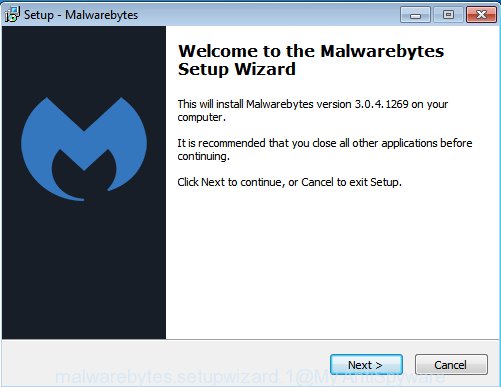
It will open the “Setup wizard” that will assist you install MalwareBytes Anti Malware (MBAM) on the personal computer. Follow the prompts and do not make any changes to default settings.
Once install is finished successfully, click Finish button. Then MalwareBytes AntiMalware will automatically start and you can see its main window as shown below.
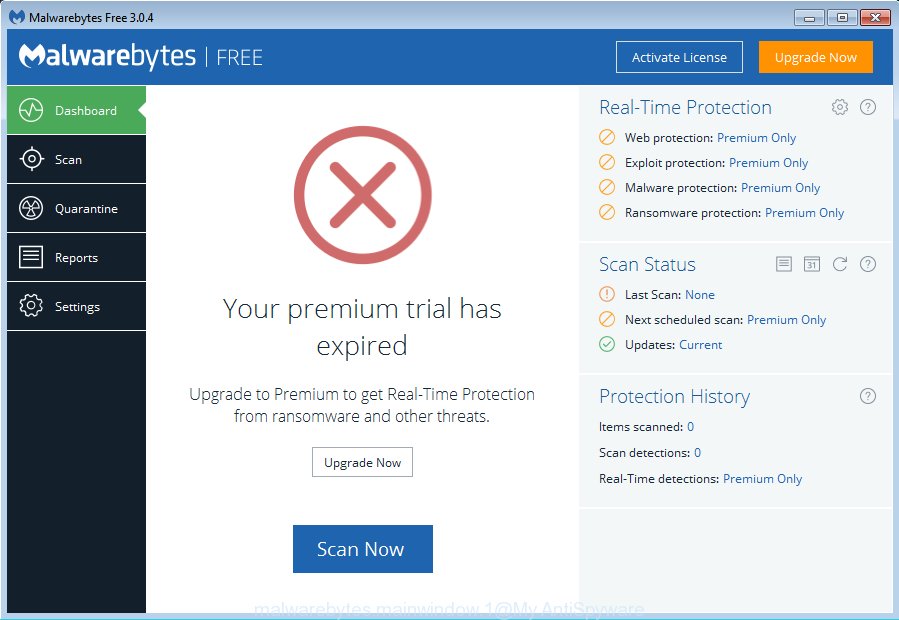
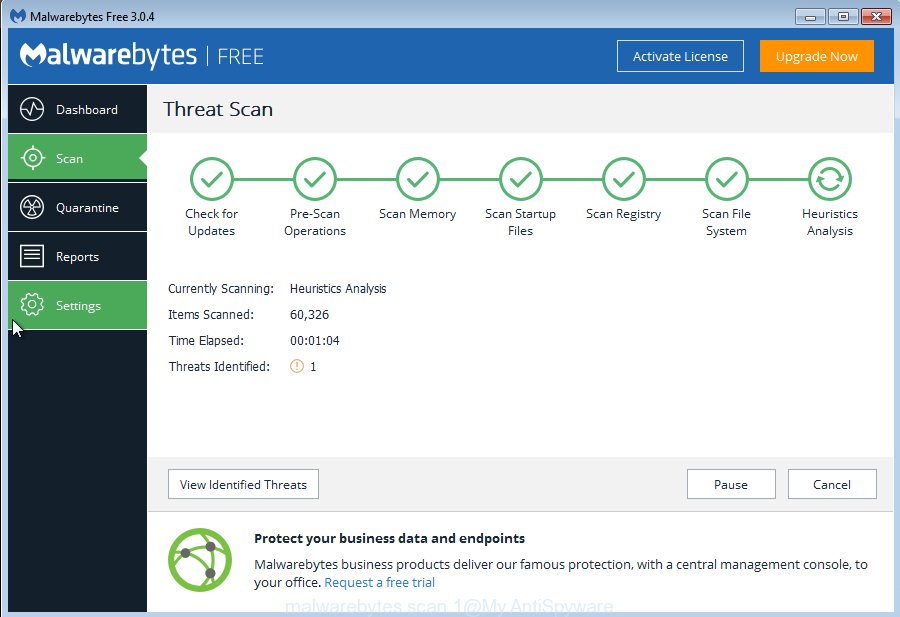
Next, click the “Scan Now” button to perform a system scan with this tool for the adware that causes web browsers to open unwanted “Please Allow Push Notifications” pop-up. A scan can take anywhere from 10 to 30 minutes, depending on the number of files on your PC system and the speed of your PC. While the MalwareBytes Anti Malware (MBAM) application is checking, you can see number of objects it has identified as threat.
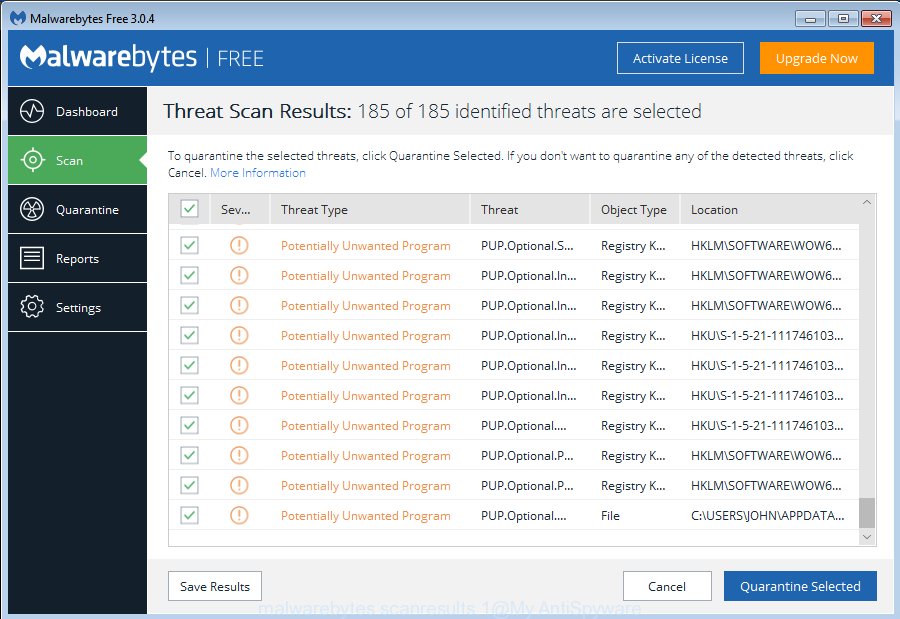
After the system scan is finished, you will be displayed the list of all found items on your personal computer. Review the scan results and then press “Quarantine Selected” button.
The MalwareBytes Free will remove adware responsible for “Please Allow Push Notifications” pop-ups. Once the cleaning process is finished, you can be prompted to reboot your computer. We suggest you look at the following video, which completely explains the procedure of using the MalwareBytes Anti Malware (MBAM) to delete browser hijackers, adware and other malicious software.
How to stop “Please Allow Push Notifications” pop ups
If you browse the Internet, you cannot avoid malicious advertising. But you can protect your web-browser against it. Download and run an ad blocking program. AdGuard is an adblocker which can filter out a huge count of of the malvertising, stoping dynamic scripts from loading malicious content.
Visit the page linked below to download the latest version of AdGuard for MS Windows. Save it on your Microsoft Windows desktop.
27037 downloads
Version: 6.4
Author: © Adguard
Category: Security tools
Update: November 15, 2018
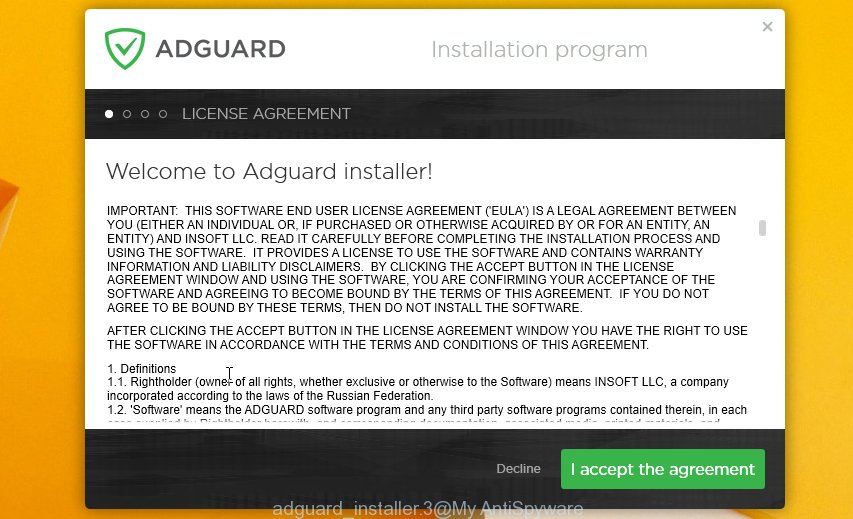
After the download is finished, start the downloaded file. You will see the “Setup Wizard” screen like below.
Follow the prompts. When the installation is done, you will see a window as displayed in the following example.

You can click “Skip” to close the install program and use the default settings, or click “Get Started” button to see an quick tutorial that will help you get to know AdGuard better.
In most cases, the default settings are enough and you don’t need to change anything. Each time, when you start your computer, AdGuard will run automatically and block unwanted ads, stop “Please Allow Push Notifications” pop-ups, as well as other harmful or misleading web-sites. For an overview of all the features of the program, or to change its settings you can simply double-click on the AdGuard icon, which can be found on your desktop.
Method of adware intrusion into your machine
These days some free software makers bundle third-party programs which could be PUPs like this ad supported software, with a view to making some money. These are not freeware as install an unwanted applications on to your Windows system. So whenever you install a new free program that downloaded from the Internet, be very careful during install. Carefully read the EULA (a text with I ACCEPT/I DECLINE button), choose custom or manual setup mode, reject all optional programs.
Finish words
Once you’ve complete the few simple steps outlined above, your computer should be clean from this ad-supported software and other malware. The Microsoft Edge, Firefox, Internet Explorer and Chrome will no longer display undesired “Please Allow Push Notifications” pop-ups when you surf the Web. Unfortunately, if the guide does not help you, then you have caught a new adware, and then the best way – ask for help.
Please create a new question by using the “Ask Question” button in the Questions and Answers. Try to give us some details about your problems, so we can try to help you more accurately. Wait for one of our trained “Security Team” or Site Administrator to provide you with knowledgeable assistance tailored to your problem with the unwanted “Please Allow Push Notifications” popups.