According to security researchers, FileChecker is classified as web browser hijacker. Once your web-browser has become the victim of this hijacker, it takes over your web browser like IE, MS Edge, Mozilla Firefox and Chrome. FileChecker hijacker makes changes to your internet browser’s settings, including homepage, search provider and newtab, and installs unwanted plugins deep inside your machine. This is the main reason why you need to remove FileChecker from your computer and revert back your browser search engine and homepage back to the default.
Except that the FileChecker can introduce changes to web browser’s homepage and new tab page, it also changes your search provider, which leads to the fact that use of the browser’s search becomes uncomfortable. The reason for this is that the search results will consist of a huge count of advertisements, links to undesired and ad pages and only the remaining part is search results for your query from well-known search providers such as Google or Bing.
While the FileChecker browser hijacker infection is active, you won’t be able to restore the IE, Firefox, MS Edge and Chrome’ settings like start page, new tab page and search engine by default. If you try to set your startpage to be Google, Bing or Yahoo, those settings will be automatically modified to FileChecker with the next system restart. But this does not mean that you should just ignore it or get along with this fact. Because this is not the best option, due to the FileChecker search you can have problems with the Internet Explorer, Chrome, Firefox and MS Edge, unwanted ads and even user data theft.
The guidance below explaining steps to remove FileChecker problem. Feel free to use it for removal of the browser hijacker that may attack Edge, Microsoft Internet Explorer, Chrome and Mozilla Firefox and other popular browsers. The few simple steps will allow you restore your current settings of web browsers which previously changed by browser hijacker.
How to remove FileChecker from Google Chrome, Firefox, IE, Edge
Without a doubt, the browser hijacker is harmful to your PC system. So you need to quickly and completely delete this malicious software. To remove this browser hijacker, you can use the manual removal guidance which are given below or free malicious software removal tool like Zemana, MalwareBytes Free or HitmanPro (all are free). We suggest you use automatic removal way which will help you to delete FileChecker easily and safely. Manual removal is best used only if you are well versed in system or in the case where hijacker is not deleted automatically. Certain of the steps below will require you to exit this page. So, please read the instructions carefully, after that bookmark or print it for later reference.
To remove FileChecker, execute the steps below:
- Delete FileChecker startpage without any utilities
- Use free malware removal utilities to completely remove FileChecker
- How to stop FileChecker
- How can you prevent your PC system from the attack of FileChecker browser hijacker
- Finish words
Delete FileChecker startpage without any utilities
If you perform exactly the steps below you should be able to remove the FileChecker from the Chrome, Edge, IE and Mozilla Firefox web browsers.
Delete potentially unwanted programs using Microsoft Windows Control Panel
Some potentially unwanted apps, browser hijacking software and ad supported software can be deleted by uninstalling the free applications they came with. If this way does not succeed, then looking them up in the list of installed software in MS Windows Control Panel. Use the “Uninstall” command in order to get rid of them.
Windows 10, 8.1, 8
Click the Microsoft Windows logo, and then click Search ![]() . Type ‘Control panel’and press Enter as shown on the image below.
. Type ‘Control panel’and press Enter as shown on the image below.

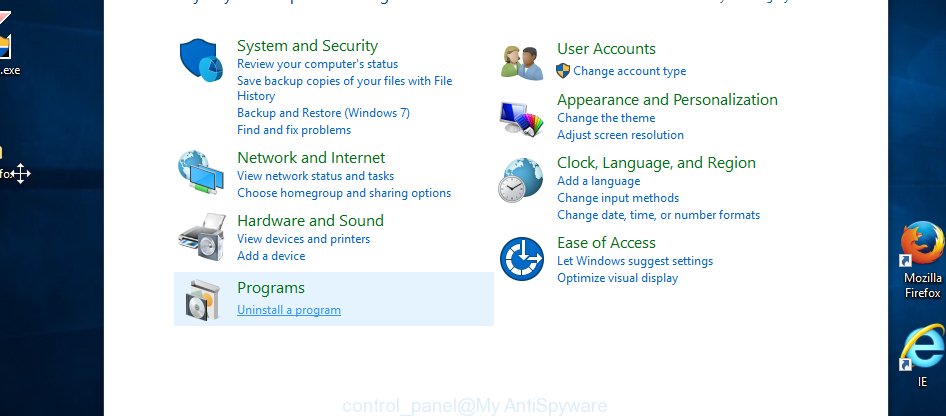
When the ‘Control Panel’ opens, click the ‘Uninstall a program’ link under Programs category as on the image below.
Windows 7, Vista, XP
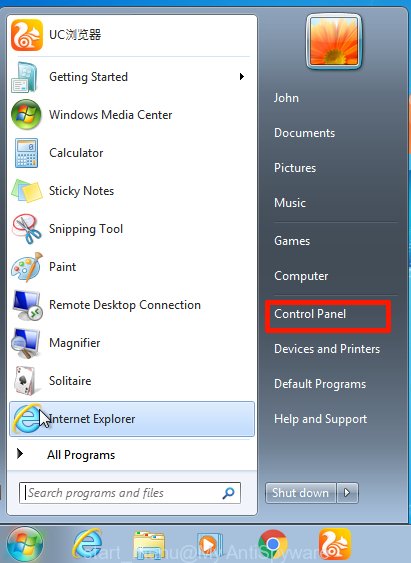
Open Start menu and choose the ‘Control Panel’ at right as displayed in the figure below.
Then go to ‘Add/Remove Programs’ or ‘Uninstall a program’ (Microsoft Windows 7 or Vista) as displayed in the following example.
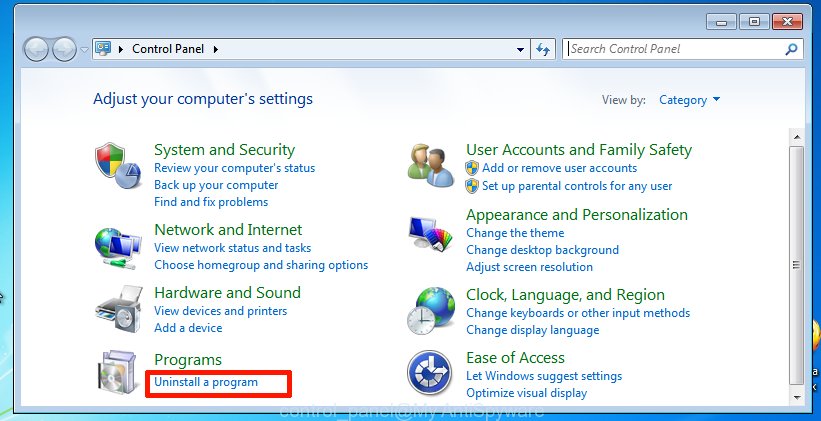
Carefully browse through the list of installed software and delete all suspicious and unknown programs. We recommend to press ‘Installed programs’ and even sorts all installed apps by date. Once you’ve found anything questionable that may be the browser hijacker that changes browser settings to replace your startpage, new tab page and search provider by default with FileChecker site or other PUP (potentially unwanted program), then choose this program and click ‘Uninstall’ in the upper part of the window. If the dubious program blocked from removal, then use Revo Uninstaller Freeware to fully remove it from your PC system.
Remove FileChecker from Mozilla Firefox by resetting browser settings
If your Firefox web-browser startpage has changed to FileChecker without your permission or an unknown search engine shows results for your search, then it may be time to perform the internet browser reset. When using the reset feature, your personal information such as passwords, bookmarks, browsing history and web form auto-fill data will be saved.
Start the Firefox and press the menu button (it looks like three stacked lines) at the top right of the web browser screen. Next, click the question-mark icon at the bottom of the drop-down menu. It will show the slide-out menu.
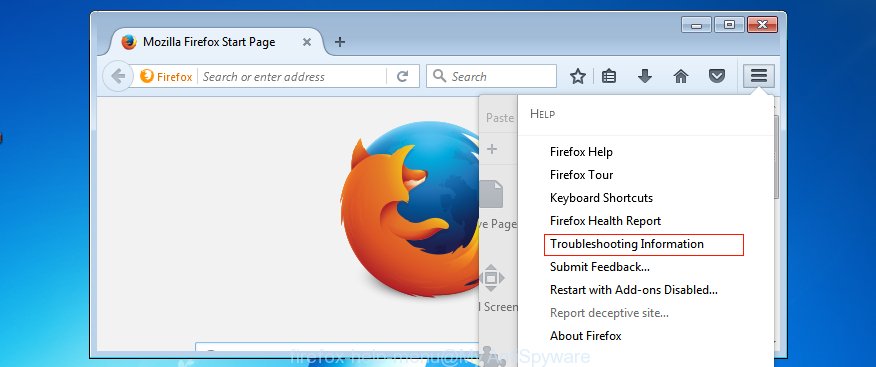
Select the “Troubleshooting information”. If you’re unable to access the Help menu, then type “about:support” in your address bar and press Enter. It bring up the “Troubleshooting Information” page as displayed in the figure below.
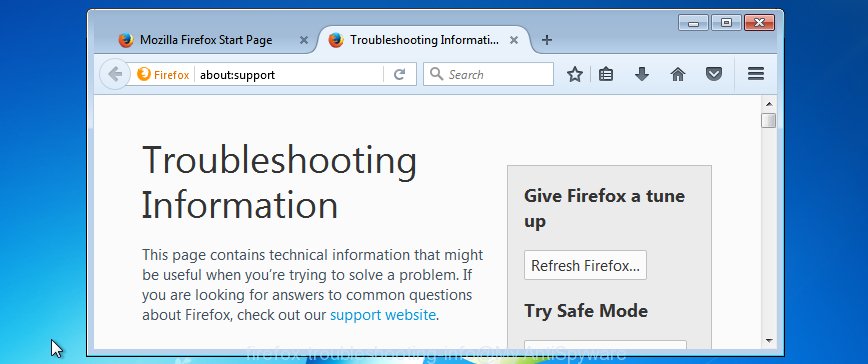
Click the “Refresh Firefox” button at the top right of the Troubleshooting Information page. Select “Refresh Firefox” in the confirmation prompt. The Firefox will begin a process to fix your problems that caused by the browser hijacker infection which cause FileChecker web-site to appear. When, it is done, click the “Finish” button.
Get rid of FileChecker start page from Internet Explorer
If you find that Internet Explorer browser settings like default search engine, new tab page and home page had been hijacked, then you may revert back your settings, via the reset browser procedure.
First, launch the Microsoft Internet Explorer, then click ‘gear’ icon ![]() . It will open the Tools drop-down menu on the right part of the internet browser, then click the “Internet Options” as shown on the image below.
. It will open the Tools drop-down menu on the right part of the internet browser, then click the “Internet Options” as shown on the image below.

In the “Internet Options” screen, select the “Advanced” tab, then click the “Reset” button. The Internet Explorer will show the “Reset Internet Explorer settings” dialog box. Further, press the “Delete personal settings” check box to select it. Next, click the “Reset” button as shown on the screen below.

After the task is finished, press “Close” button. Close the Internet Explorer and reboot your PC system for the changes to take effect. This step will help you to restore your browser’s search engine, newtab page and homepage to default state.
Remove FileChecker from Google Chrome
Reset Google Chrome settings is a easy way to delete the browser hijacker, harmful and adware extensions, as well as to recover the web browser’s start page, newtab page and default search engine that have been replaced by browser hijacker.
Open the Chrome menu by clicking on the button in the form of three horizontal dotes (![]() ). It will show the drop-down menu. Choose More Tools, then click Extensions.
). It will show the drop-down menu. Choose More Tools, then click Extensions.
Carefully browse through the list of installed extensions. If the list has the plugin labeled with “Installed by enterprise policy” or “Installed by your administrator”, then complete the following steps: Remove Google Chrome extensions installed by enterprise policy otherwise, just go to the step below.
Open the Google Chrome main menu again, click to “Settings” option.
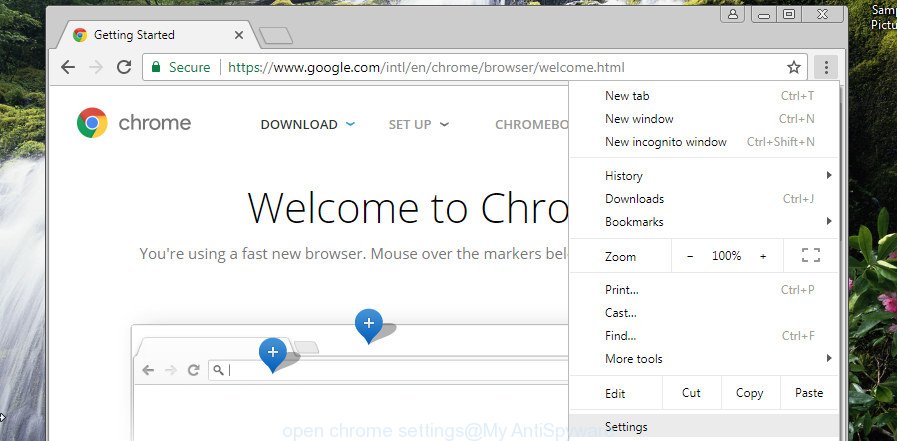
Scroll down to the bottom of the page and click on the “Advanced” link. Now scroll down until the Reset settings section is visible, as shown below and press the “Reset settings to their original defaults” button.
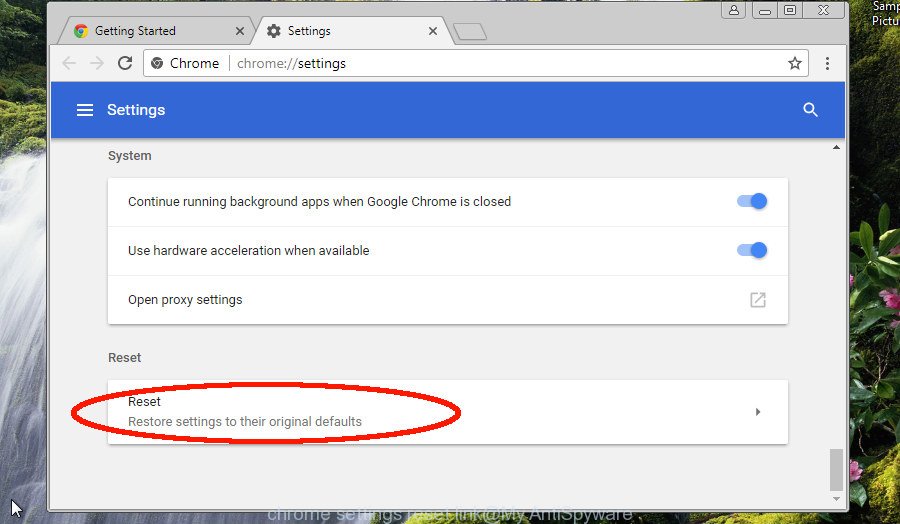
Confirm your action, click the “Reset” button.
Use free malware removal utilities to completely remove FileChecker
If you are unsure how to delete FileChecker hijacker easily, consider using automatic hijacker removal software which listed below. It will identify the hijacker which cause a redirect to FileChecker web site and remove it from your system for free.
How to automatically remove FileChecker with Zemana AntiMalware
We recommend using the Zemana Free. You may download and install Zemana Free to find out and remove FileChecker from your PC system. When installed and updated, the malware remover will automatically scan and detect all threats exist on the personal computer.
Zemana AntiMalware (ZAM) can be downloaded from the following link. Save it on your Microsoft Windows desktop or in any other place.
165094 downloads
Author: Zemana Ltd
Category: Security tools
Update: July 16, 2019
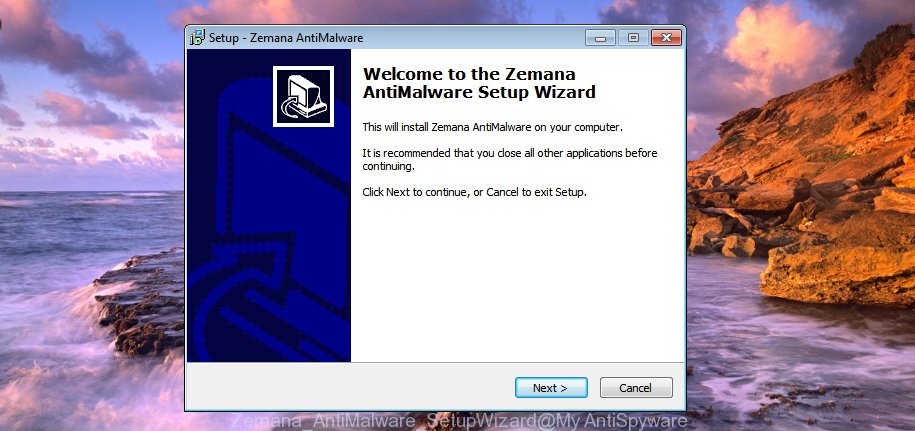
Once downloading is finished, close all applications and windows on your PC system. Double-click the setup file named Zemana.AntiMalware.Setup. If the “User Account Control” dialog box pops up as displayed on the screen below, click the “Yes” button.
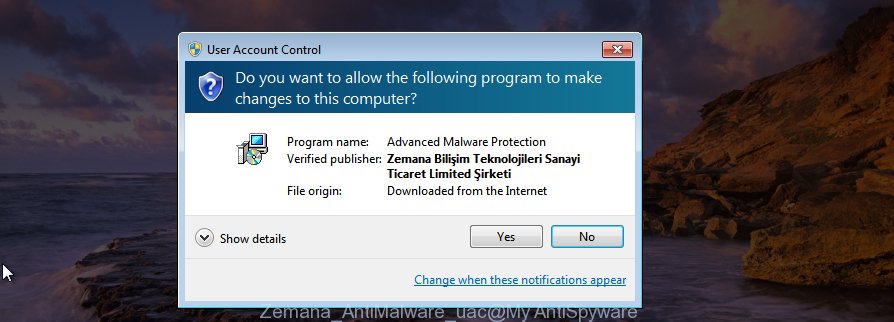
It will open the “Setup wizard” that will help you install Zemana on your computer. Follow the prompts and do not make any changes to default settings.
Once installation is finished successfully, Zemana will automatically start and you can see its main screen as displayed below.
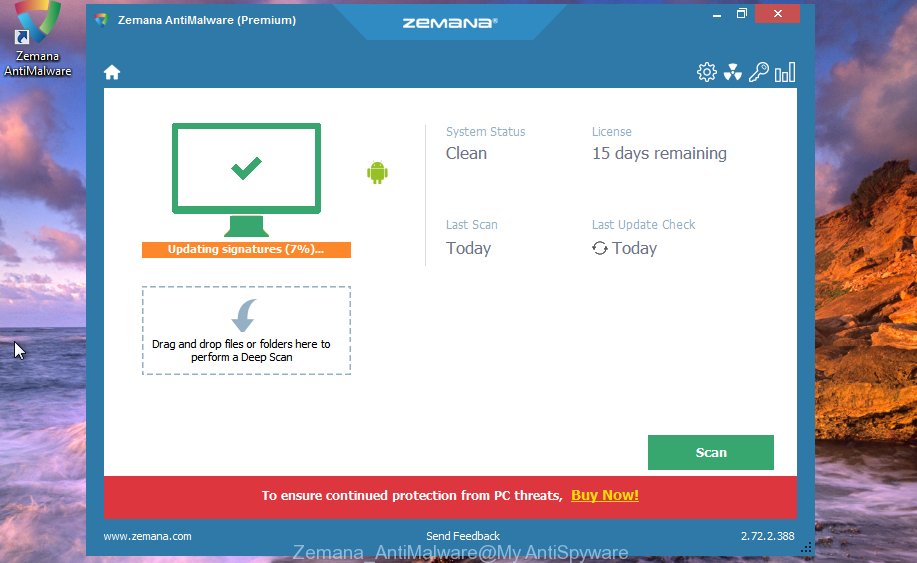
Now click the “Scan” button to search for hijacker which modifies web-browser settings to replace your search provider by default, new tab page and start page with FileChecker page. Depending on your PC system, the scan can take anywhere from a few minutes to close to an hour.

When the system scan is finished, Zemana will show a scan report. When you are ready, click “Next” button. The Zemana will remove hijacker related to FileChecker homepage and add items to the Quarantine. Once the clean up is complete, you may be prompted to restart the PC system.
Scan and free your PC of browser hijacker with HitmanPro
The Hitman Pro utility is free and easy to use. It may scan and remove browser hijacker responsible for redirecting your internet browser to FileChecker web-page, malware, PUPs and ‘ad supported’ software from system (MS Windows 10, 8, 7, XP) and thereby revert back web browsers default settings (homepage, newtab and search engine). Hitman Pro is powerful enough to search for and remove malicious registry entries and files that are hidden on the PC.
- Please go to the link below to download the latest version of HitmanPro for Windows. Save it to your Desktop so that you can access the file easily.
- When downloading is finished, start the HitmanPro, double-click the HitmanPro.exe file.
- If the “User Account Control” prompts, click Yes to continue.
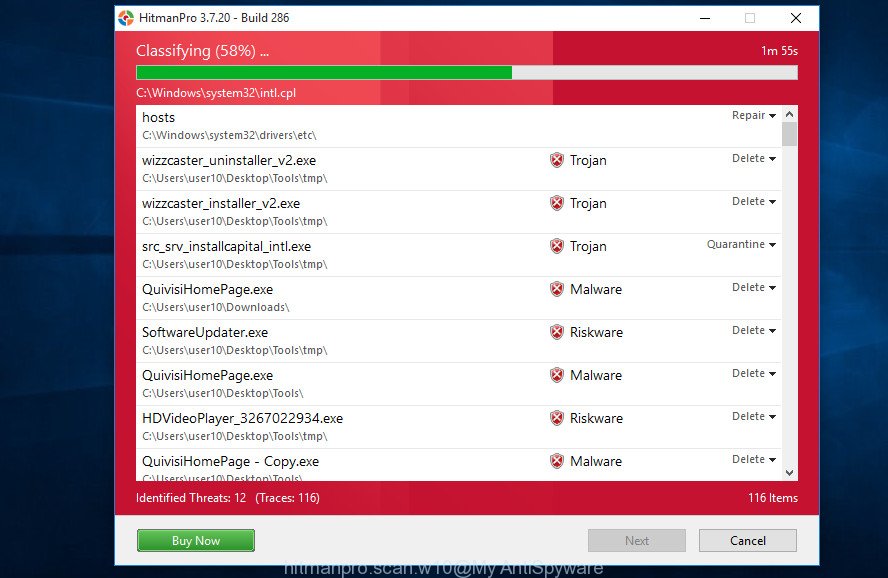
- In the Hitman Pro window, click the “Next” to begin scanning your system for the browser hijacker responsible for redirecting your web browser to FileChecker site. Depending on your computer, the scan may take anywhere from a few minutes to close to an hour. During the scan HitmanPro will scan for threats exist on your machine.
- Once the checking is finished, Hitman Pro will display a list of all items found by the scan. Once you’ve selected what you want to get rid of from your personal computer press “Next”. Now, press the “Activate free license” button to begin the free 30 days trial to delete all malicious software found.
Automatically get rid of FileChecker with Malwarebytes
Get rid of FileChecker hijacker infection manually is difficult and often the hijacker is not completely removed. Therefore, we suggest you to run the Malwarebytes Free that are completely clean your machine. Moreover, the free program will help you to remove malicious software, PUPs, toolbars and ‘ad supported’ software that your system may be infected too.
- Visit the following page to download the latest version of MalwareBytes Anti Malware (MBAM) for Windows. Save it to your Desktop so that you can access the file easily.
Malwarebytes Anti-malware
327319 downloads
Author: Malwarebytes
Category: Security tools
Update: April 15, 2020
- At the download page, click on the Download button. Your browser will show the “Save as” prompt. Please save it onto your Windows desktop.
- Once downloading is finished, please close all programs and open windows on your PC system. Double-click on the icon that’s called mb3-setup.
- This will run the “Setup wizard” of MalwareBytes Anti-Malware onto your PC. Follow the prompts and don’t make any changes to default settings.
- When the Setup wizard has finished installing, the MalwareBytes will open and display the main window.
- Further, click the “Scan Now” button to start scanning your personal computer for the hijacker infection which cause FileChecker web-page to appear. A scan may take anywhere from 10 to 30 minutes, depending on the number of files on your personal computer and the speed of your computer. When a threat is found, the count of the security threats will change accordingly.
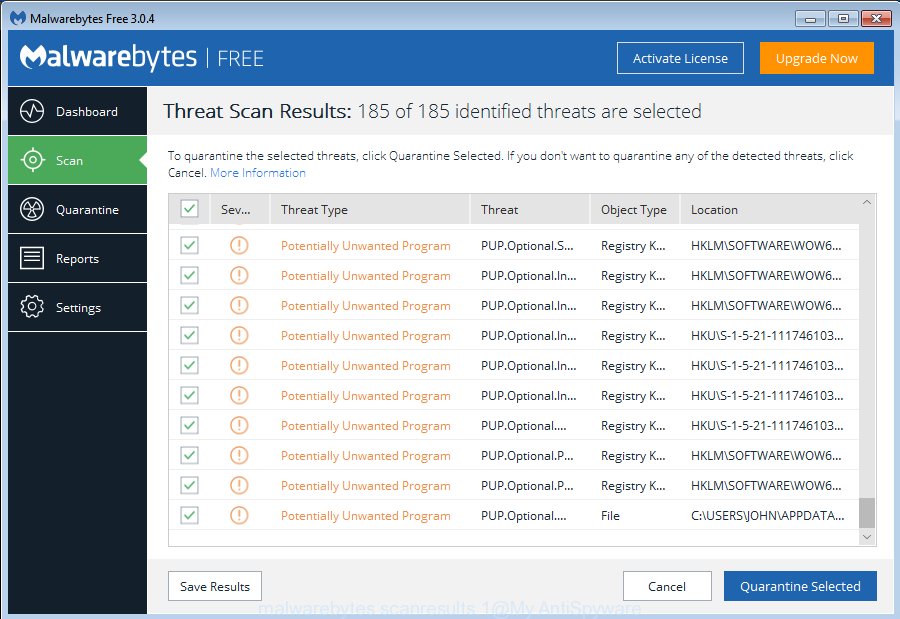
- When the scan is done, you will be opened the list of all found threats on your PC.
- Once you have selected what you want to remove from your system click the “Quarantine Selected” button. When the cleaning procedure is done, you may be prompted to reboot the personal computer.
- Close the Anti-Malware and continue with the next step.
Video instruction, which reveals in detail the steps above.
How to stop FileChecker
We advise to install an ad blocker application which can stop FileChecker and other annoying websites. The ad blocking utility such as AdGuard is a program that basically removes advertising from the Net and stops access to malicious pages. Moreover, security experts says that using adblocker software is necessary to stay safe when surfing the Internet.
Visit the page linked below to download the latest version of AdGuard for Microsoft Windows. Save it to your Desktop so that you can access the file easily.
26913 downloads
Version: 6.4
Author: © Adguard
Category: Security tools
Update: November 15, 2018
After downloading is finished, double-click the downloaded file to start it. The “Setup Wizard” window will show up on the computer screen as shown in the following example.
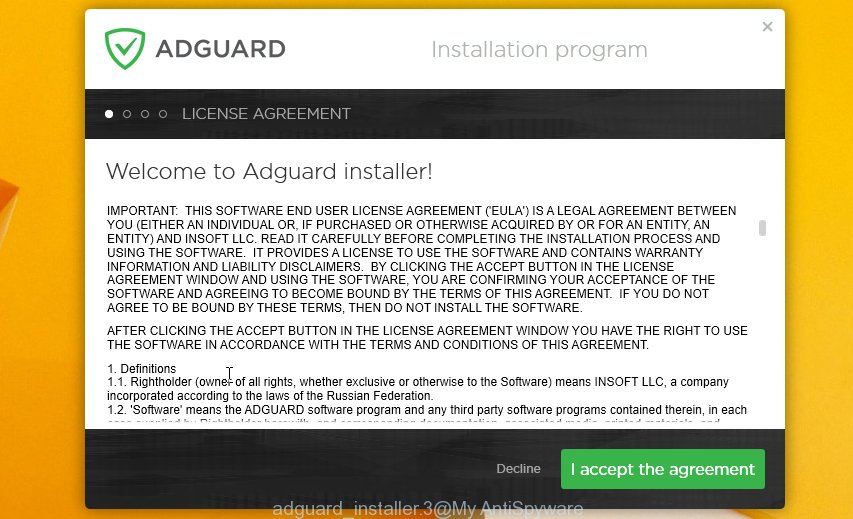
Follow the prompts. AdGuard will then be installed and an icon will be placed on your desktop. A window will show up asking you to confirm that you want to see a quick guide as on the image below.

Press “Skip” button to close the window and use the default settings, or click “Get Started” to see an quick instructions that will allow you get to know AdGuard better.
Each time, when you run your personal computer, AdGuard will start automatically and stop popup advertisements, web sites such as FileChecker, as well as other harmful or misleading web-sites. For an overview of all the features of the application, or to change its settings you can simply double-click on the AdGuard icon, that is located on your desktop.
How can you prevent your PC system from the attack of FileChecker browser hijacker
The FileChecker browser hijacker usually gets on your machine as a part of some free programs that you download off of the Net. Once started, it will infect your personal computer and alter browser’s settings such as newtab page, default search provider and start page without your permission. To avoid infection, in the Setup wizard, you should be be proactive and carefully read the ‘Terms of use’, the ‘license agreement’ and other installation screens, as well as to always select the ‘Manual’ or ‘Advanced’ installation method, when installing anything downloaded from the Web.
Finish words
Now your machine should be free of the hijacker that developed to redirect your web-browser to the FileChecker web page. We suggest that you keep Zemana Free (to periodically scan your computer for new hijackers and other malware) and AdGuard (to help you block annoying popups and harmful web sites). Moreover, to prevent any hijacker infection, please stay clear of unknown and third party software, make sure that your antivirus application, turn on the option to find out PUPs.
If you need more help with FileChecker start page related issues, go to here.


