This page contains information about Nice Searches, how to this infection get installed onto your PC and full step-by-step guide on how to remove Nice Searches from your system for free.
- What is Nice Searches
- How to Nice Searches infection get installed onto computer
- How to remove Nice Searches
What is Nice Searches
The appearance of Nice Searches in your browser means that your computers is infected with a browser hijacker, which makes changes to the Internet Explorer, Google Chrome, Opera and Mozilla Firefox settings, replacing the home page and search engine by default. So, if you find that when you start your browser, it opens this annoying site, then you do not need to wait, you need as quickly as possible following the instructions below and remove Nice Searches infection.
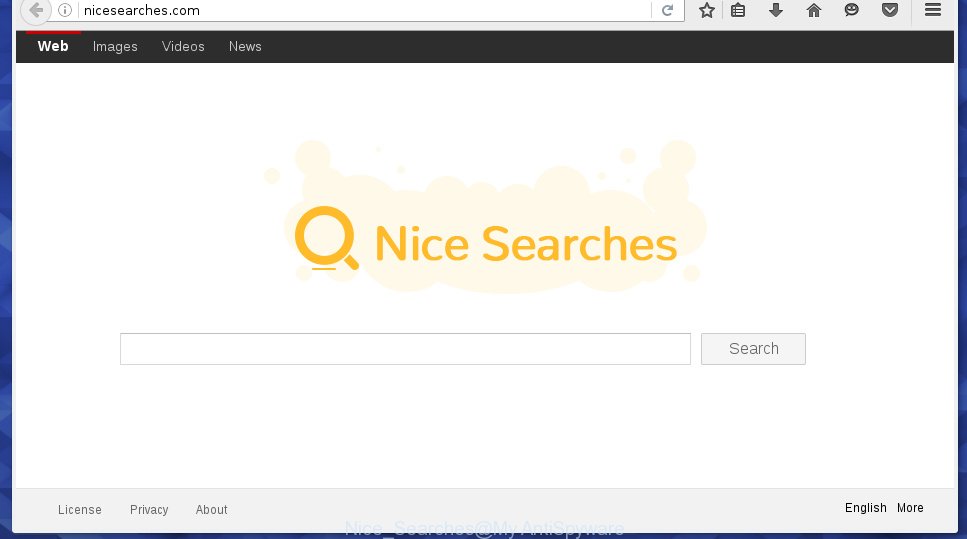
As mentioned before, Nice Searches infection may also change the default search system that will lead to virtually blocked the possibility of finding information on the Internet. The reason for this is that the Nice Searches search results show a large number of advertising links, links to malicious and misleading Web sites. Only the remaining part is the result of your search request, loaded from the major search engines. Use these search results can lead to that you infect your computer even more dangerous virus or trojan.
And finally, Nice Searches infection can collect a wide variety of personal information: what websites you open, look for the Internet and so on. This information, in the future, may be transferred to third parties. Therefore it is very important to as quickly as possible to clean your computer, remove Nice Searches infection, as well as other malicious and advertising programs, which could penetrate the computer along with it.
How to Nice Searches infection get installed onto computer
Nice Searches infection usually spreads bundled with various free programs. Most commonly, it may be bundled within the installation packages from Softonic, Cnet, Soft32, Brothersoft or other similar web sites. So, you should run any files downloaded from the Internet with great caution, read the user agreement, license and terms of use. In the process of installing a new program, you should choose a manual or custom installation mode to control what components and additional applications to be installed, otherwise you run the risk of infecting your computer with an infection like Nice Searches.
How to remove Nice Searches redirect (Step-by-step instructions)
The instructions is a full step-by-step guide, which will help you to remove Nice Searches hijacker from Mozilla Firefox, Internet Explorer and Google Chrome. Moreover, the steps below will help you to uninstall potentially unwanted software such as adware and toolbars that your computer may be infected. You will need to use the standard Windows features and some proven free programs. Please do the instructions step by step. If you need a help or have any questions, then ask for our assistance here or type a comment below.
- Uninstall Nice Searches associated software by using Windows Control Panel.
- Remove Nice Searches hijacker and malicious extensions from Mozilla Firefox, Internet Explorer and Google Chrome with AdwCleaner.
- Remove Nice Searches redirect with JRT (Junkware Removal Tool).
- Remove Nice Searches browser hijacker related files and registry keys with MalwareBytes Anti-malware.
- Disinfect the browser’s shortcuts to remove Nice Searches redirect
- Block Nice Searches and other similar malicious sites
- Reset Chrome settings to remove Nice Searches redirect (Optional).
- Reset Firefox settings to remove Nice Searches redirect (Optional).
- Reset Internet Explorer settings to remove Nice Searches redirect (Optional).
-
Uninstall Nice Searches associated software by using Windows Control Panel.
Press Windows key
 , then click Search
  . Type Control panel and press Enter. If you using Windows XP or Windows 7, then click Start and select Control Panel. It will open the Windows Control Panel as shown below.
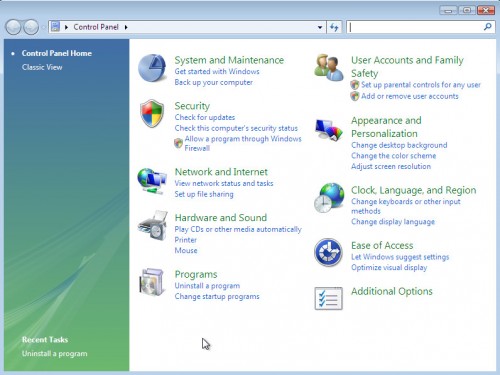
Click Uninstall a program

It will open a list of all programs. Scroll through the all list, and uninstall any suspicious and unknown programs.
-
Remove Nice Searches hijacker and malicious extensions from Mozilla Firefox, Internet Explorer and Google Chrome with AdwCleaner.
Download AdwCleaner from the link below.
Once finished, open a directory in which you saved it. You will see a icon like below.

Double click the AdwCleaner desktop icon. Once this tool is started, you will see a screen like below.
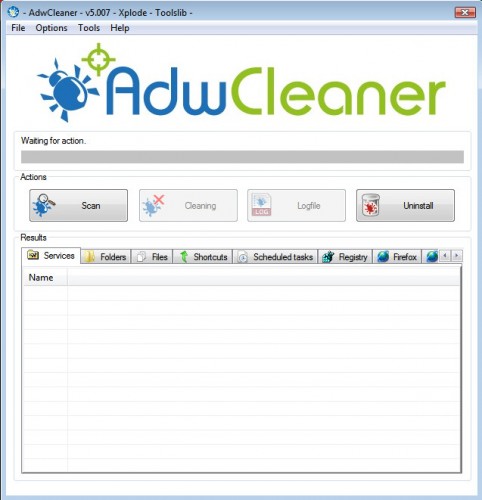
Press Start button to perform a system scan for Nice Searches adware and malicious extensions. Once AdwCleaner has finished, it will open a scan report as shown below.

Review the report and then click Cleaning button. It will display a prompt.
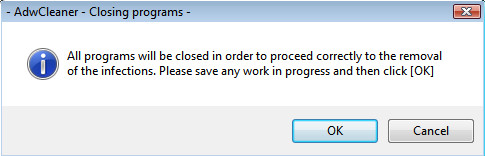
Click OK. When the cleaning process is finished, AdwCleaner may ask you to reboot your computer.
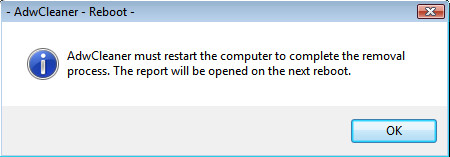
When your PC is started, you will see an AdwCleaner log.

-
Remove Nice Searches redirect with JRT (Junkware Removal Tool).
Download Junkware Removal Tool from the link below.
JRT (Junkware Removal Tool) download link.
Open a directory in which you saved the JRT. You will see an icon like below.

Run it. Junkware Removal Tool will try to update itself, if a new version is available. Once updating is done, you will see JRT DISCLAIMER.
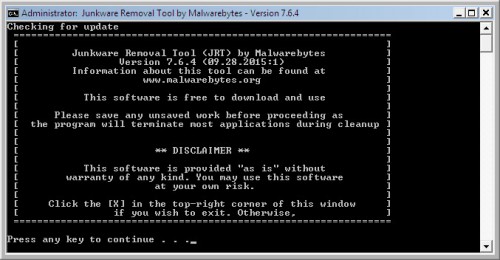
Please read and press any key to continue. First, JRT creates a restore point and once complete, it will start a scan of a computer.
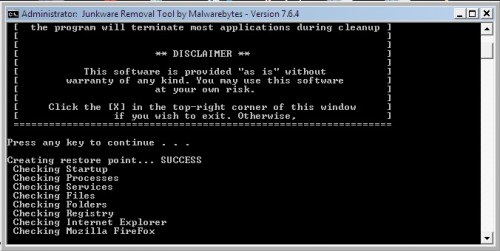
During the scan, Junkware Removal Tool will check Startups, Services, Processes, Files, Folders, Registry keys, Registry values, Mozilla Firefox, Internet Explorer (EDGE), Google Chrome extensions and remove Nice Searches related malicious software that has been found.
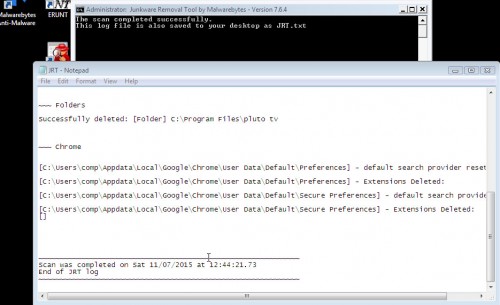
When cleaning a computer is completed, JRT will display a log file.
-
Remove Nice Searches related files and registry keys with MalwareBytes Anti-malware.
Download MalwareBytes Anti-malware (MBAM) from the link below.
MalwareBytes Anti-malware download link
Once downloaded, close all programs and windows on your computer. Open a directory in which you saved it. Double-click on the icon that named mbam-setup like below.

When the installation begins, you will see the Setup – Wizard that will help you install MalwareBytes Anti-malware on your computer.

Once installation is complete, you will see window similar to the one below.

Now click on the Scan Now button to start scanning your computer for malware that cause a redirect to Nice Searches. This procedure can take some time, so please be patient.

When the scan is finished, make sure all entries have “checkmark” and click Remove Selected button. MalwareBytes Anti-malware will start to remove Nice Searches browser hijacker related files, folders, registry keys. Once disinfection is completed, you may be prompted to Restart.
-
Disinfect the browser’s shortcuts to remove Nice Searches redirect
When breaking into a computer, this browser hijacker may also change the browser’s shortcuts, adding “http://nicesearches.com/…/” into the Target field. Due to this, every time you start the browser, it will open this annoying web-site.
To clear a browser shortcut, right-click to it and select Properties. On the Shortcut tab, locate the Target field. Click inside, you will see a vertical line – arrow pointer, move it (using -> arrow key on your keyboard) to the right as possible. You will see a text http://nicesearches.com that has been added here. You need to remove it.

When the text is removed, press the OK button. You need to clean all shortcuts of all your browsers, as they may be infected too.
-
Block Nice Searches and other similar malicious sites
To increase your security and protect your computer against new annoying ads and malicious web sites, in addition to your antivirus software, you need to use an application that blocks access to dangerous ads and web-pages. Moreover, the software can block the display of intrusive advertising, which also leads to faster loading of websites and reduce the consumption of web traffic.
Download AdGuard program using the following link.
After the download is complete, run the downloaded file. You will see the Setup Wizard program window as shown below.

Follow the prompts. After installation is complete, you will see a window as shown in the figure below.

You can click Skip to close the installation program and use the default settings, or press Get Started button to see an quick tutorial that will help you get to know AdGuard better.
In most cases, the default settings are enough and you do not need to change anything. Each time, when you start your computer, AdGuard will start automatically and block pop-up ads, sites such Nice Searches, as well as other malicious or misleading web page. For an overview of all the features of the program, or to change its settings you can simply double-click on the icon AdGuard, which is located on your desktop.
-
Reset Chrome settings to remove Nice Searches redirect (Optional)
Open the Google Chrome menu by clicking on the button in the form of three horizontal stripes (
 ). It opens the drop-down menu. Click to Settings option.
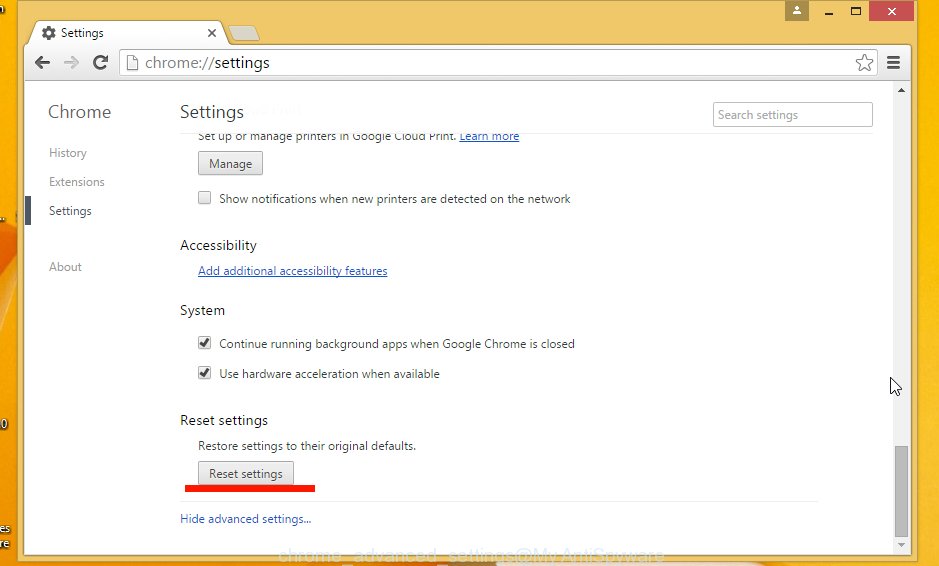
Scroll down to the bottom of the page and click on the “Show advanced settings” link. Now scroll down until the Reset settings section is visible, as shown below and click on the Reset settings button.
Confirm your action, click on the Reset button.
-
Reset Firefox settings to remove Nice Searches redirect (Optional)
Open Mozilla Firefox menu by clicking on the button in the form of three horizontal stripes (
). It opens the drop-down menu. Click on the Help button ( ).
).
In the Help menu click on the “Troubleshooting Information”. In the upper-right corner of the “Troubleshooting Information” page click on Refresh Firefox button.

Confirm your action. Click on the Refresh Firefox.
-
Reset Internet Explorer settings to remove Nice Searches redirect (Optional)
Open the Internet Explorer tools menu by clicking on the button in the form of gear (
 ). It opens the drop-down menu. Click on the Internet Options.
In the Internet Options window click on the Advanced tab, then click the Reset button. The Internet Explorer will show the Reset Internet Explorer settings window. Select the Delete personal settings check box, then click on Reset button.

You will now need to restart your computer for the changes to take effect.


Finish words.
Your computer should now be free of Nice Searches redirect in Google Chrome, Mozilla Firefox, Internet Explorer and Microsoft Edge. If you need help with the instructions, then ask for help here.